Let There Be Light! Skylight, Walls, and More Cleaning
The internet does not know delayed gratification, so here is the finished product first:
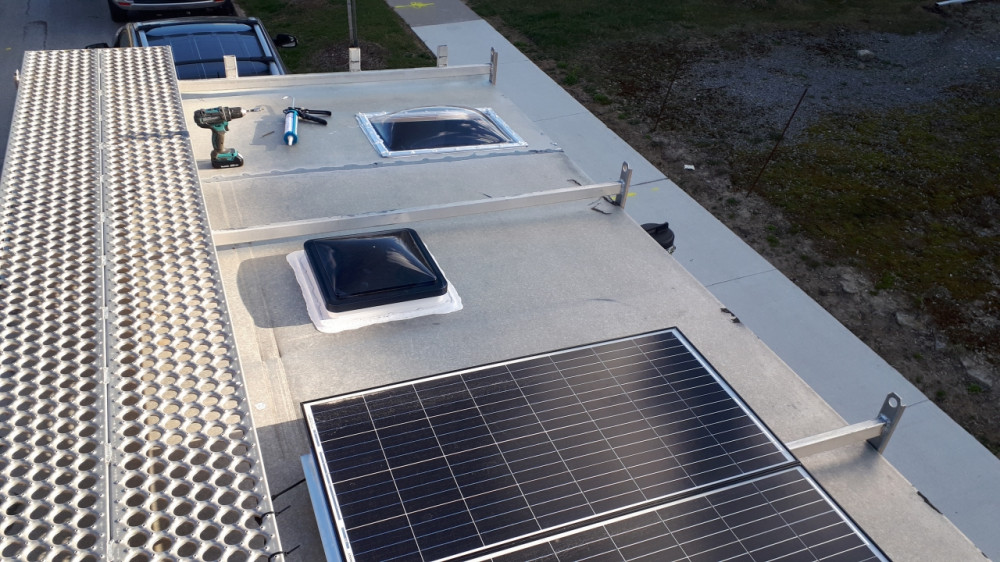
The only thing missing is a rooftop patio.
We wanted to kick off April with another big project, the skylight! We had the perfect weekend planned: clean the front cab (it reeked of old car), install the skylight, and put up some walls. Of course, this ends up taking more than one weekend. Chiko will pipe in below on a quick spending update.
Insert Witty Cleaning Header
As satisfying as it was getting the front cab clean, it's awfully boring to write about. Let me show you instead.
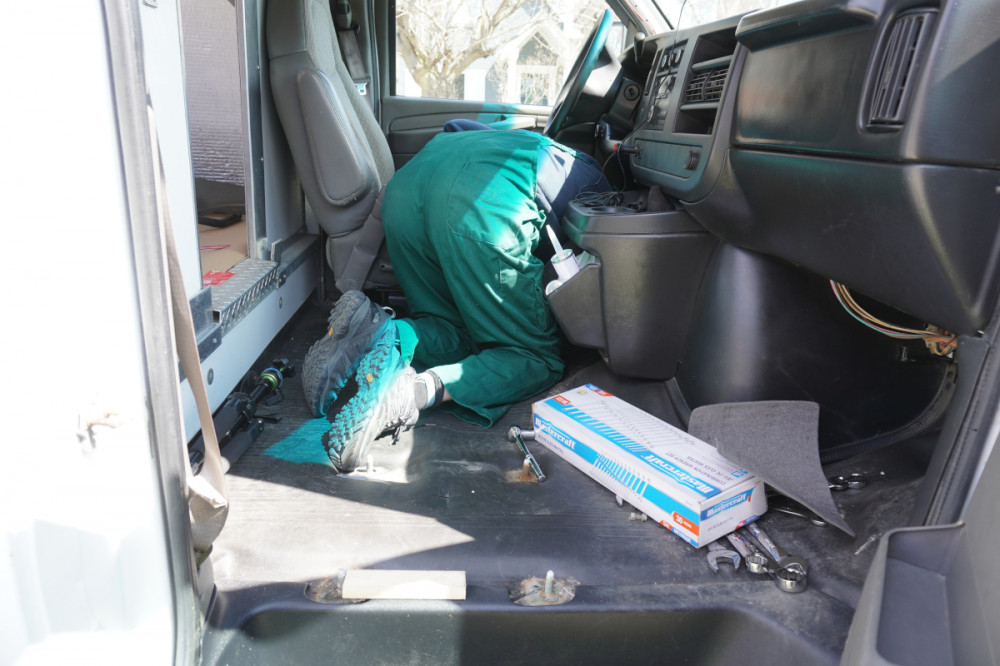
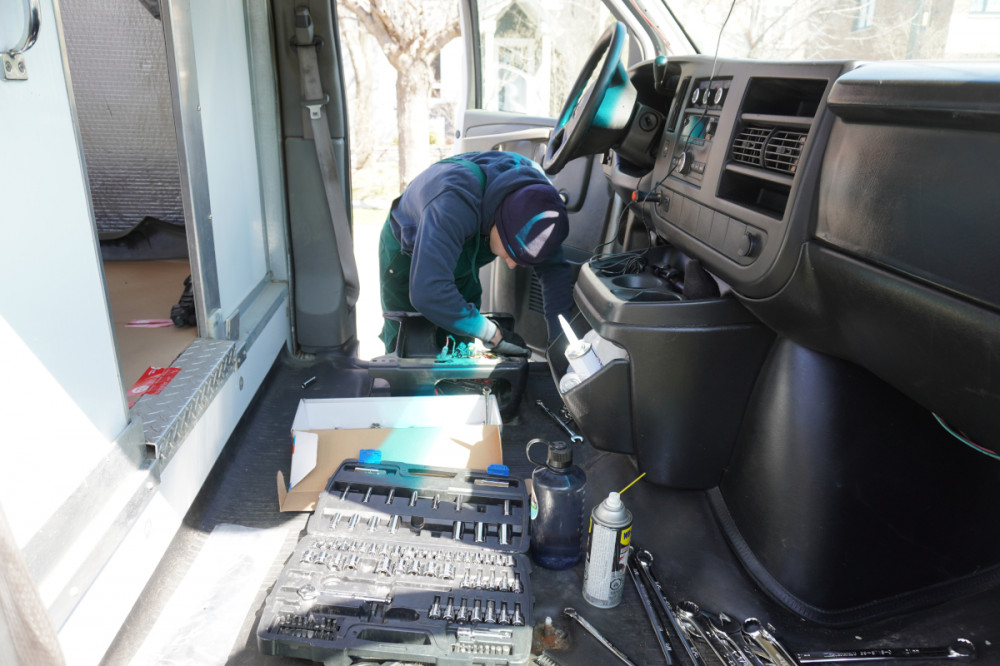
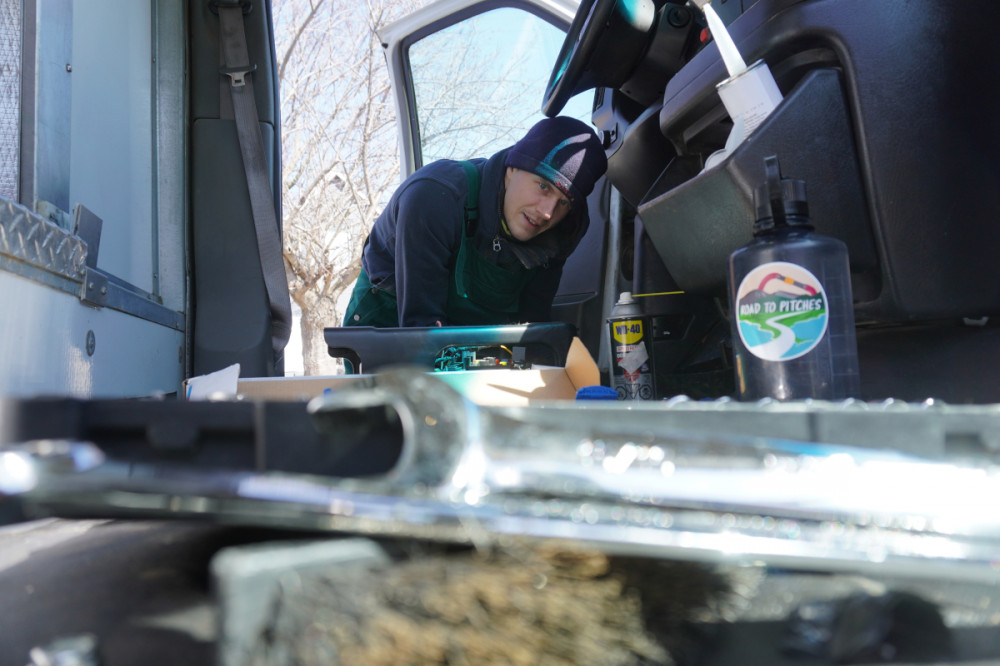
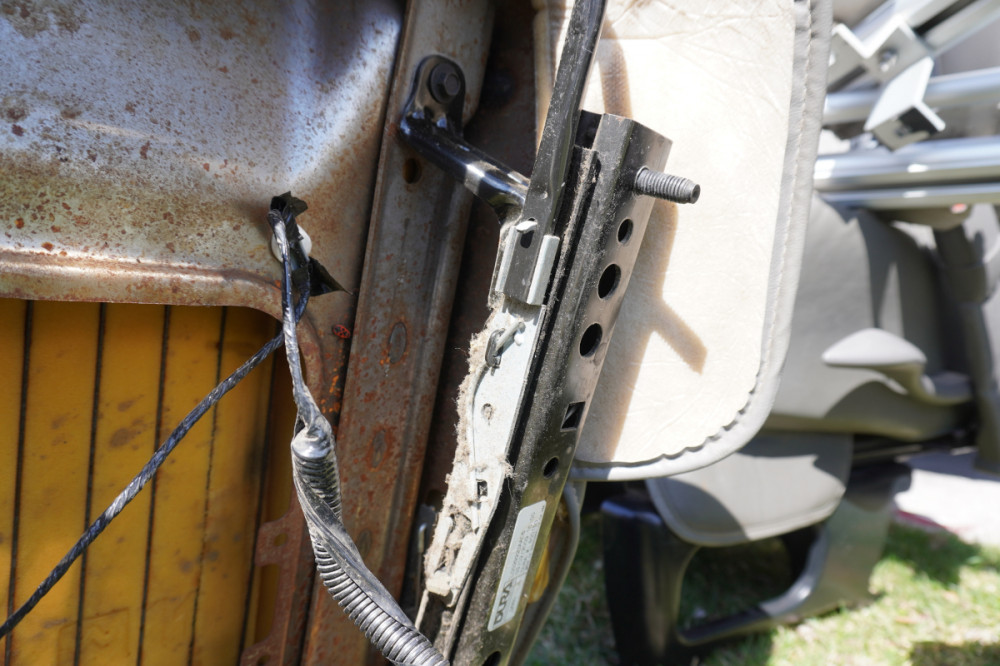
I had a bad deja vu moment here, getting shut down by yet ANOTHER rusty bolt. Last year, my 30 minute job of replacing a strut in my car turned into an overnight/early morning job of having to drill out the entire bolt. Many grunts and vocal complaints were made during this side quest.
Also, look! We got stickers of our logo :).
This is what the underside of everything looked like.
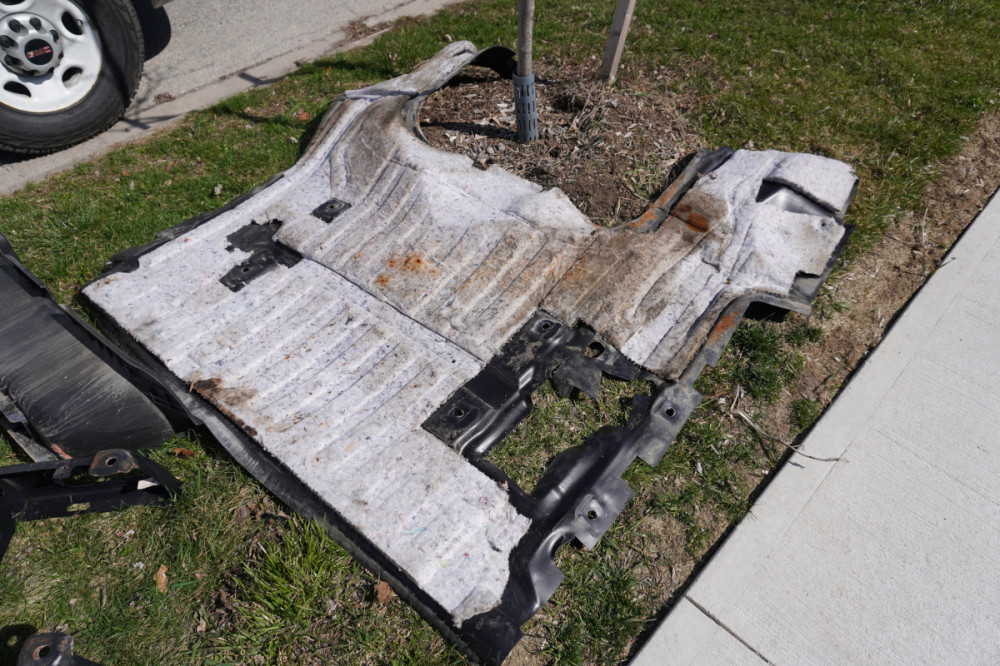
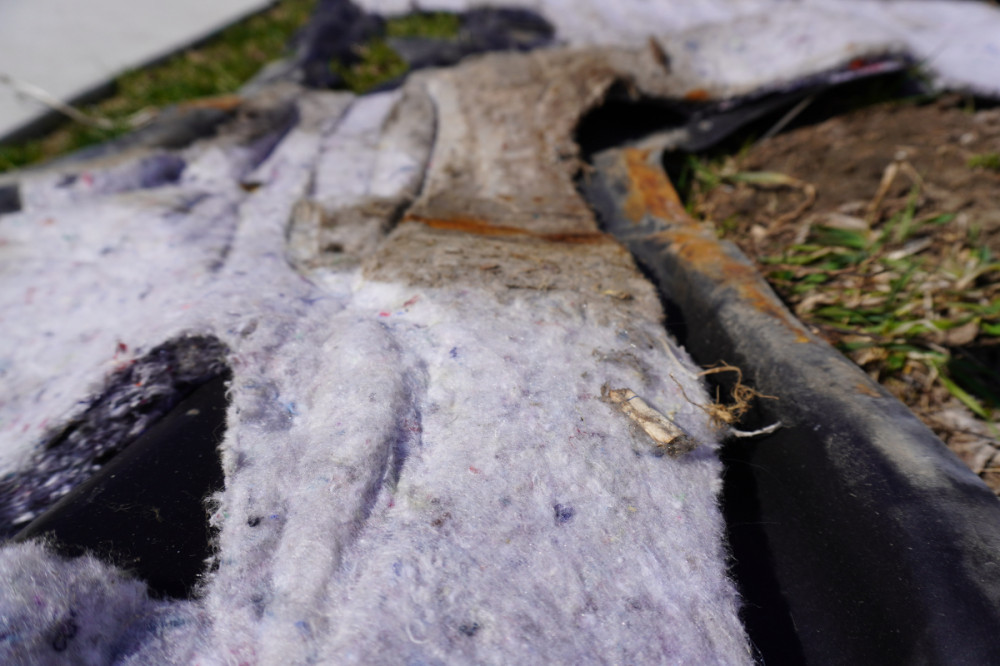
Despite its looks, it smelled like plastic and not mold or rust. That, or we are losing our sense of smell #coronavirus.
And we present, our yard sale.
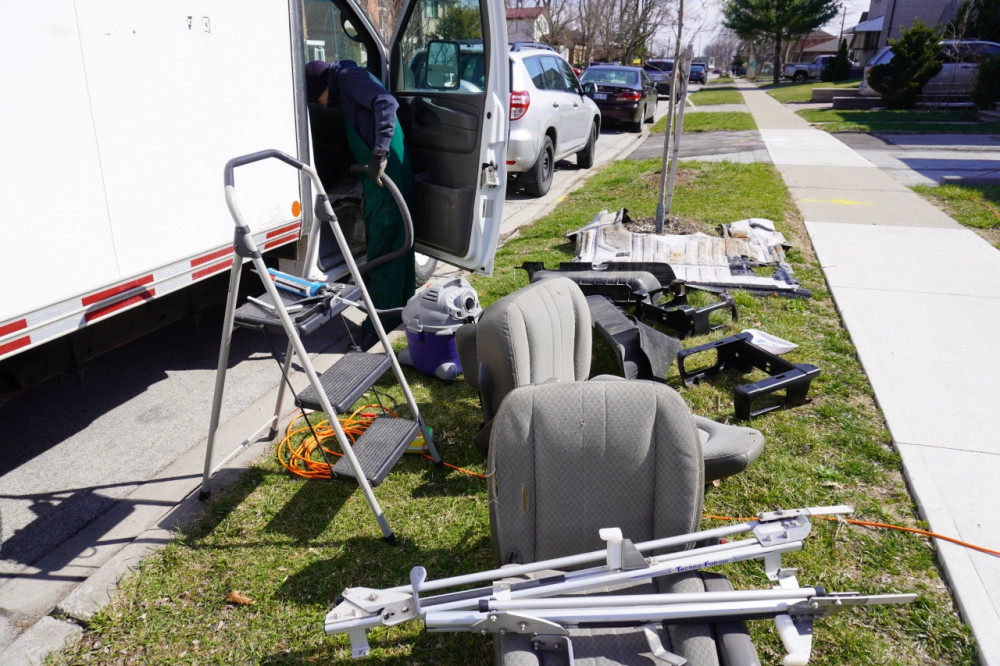
We found some rust on the metal bases, so I took out the grinder again and repainted the bases.
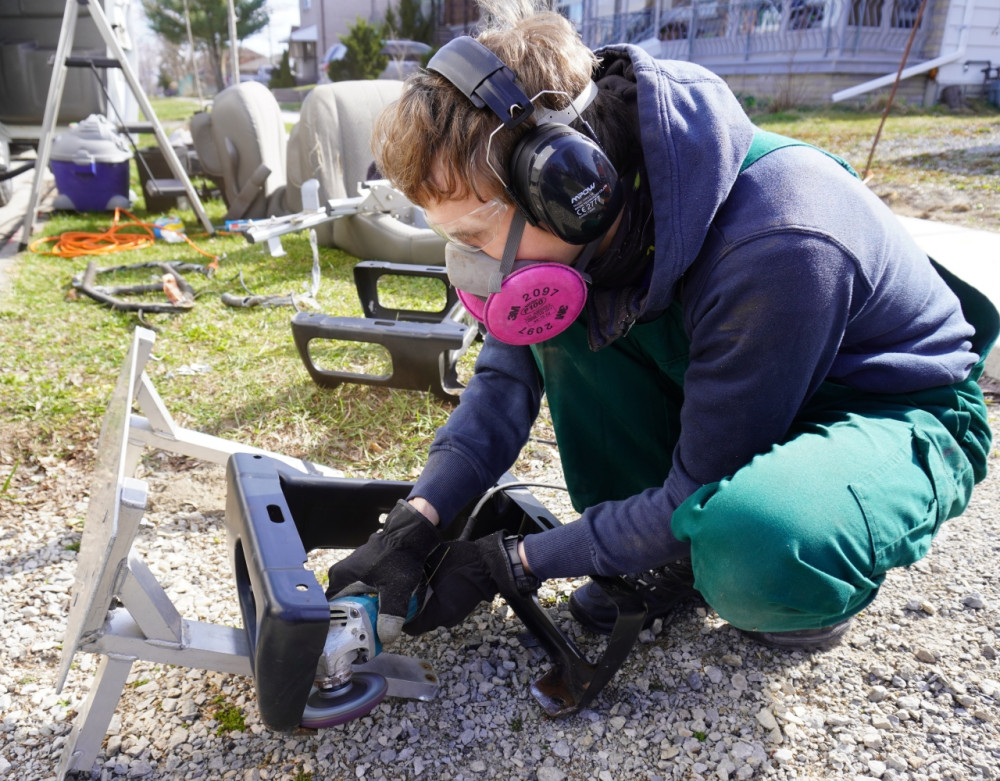
After removing everything, we did a full scrub wire brushes, pipe cleaners, sponges, sprays, chopsticks, paper towels, towels. By the time we reassembled everything, it was dinner time, so of course, we didn't finish our very ambitious perfectly planned weekend.
Our conclusion was that this job was NOT AT ALL SATISFYING. It was a tonne of hidden effort. Only our noses were able to tell the difference.
Mounting Walls
I haven't explained what all the scrupulous taping and sealing of the floors, walls, and ceiling is about. Air can carry quite some water (vapour). At room temperature (20°C) and a relative humidity of 50%, you'll find about 9 g of water in each cubic meter of air.
Now think of what happens when you pull a can of beer out of your fridge and let it sit in the warm air: water condenses on the can. This happens because the air close to the can cools down and cold air cannot hold as much water as warm air. At 5°C, the air will only be able to hold about 3 g of water per cubic meter—so about 6g will condense out.
Our truck is like a giant can of beer. Only difference is it'll be warm on the inside and cold on the outside. Although the insulation will keep the warmth in, we have to make sure that none of the moist air comes in contact with the exterior walls. Otherwise, all that water will condense in between the walls (on the insulation and such) and we'll end up with mold in our floor and walls. That's why we are taping every little gap. It prevents the moist air from getting in contact with cold surfaces.
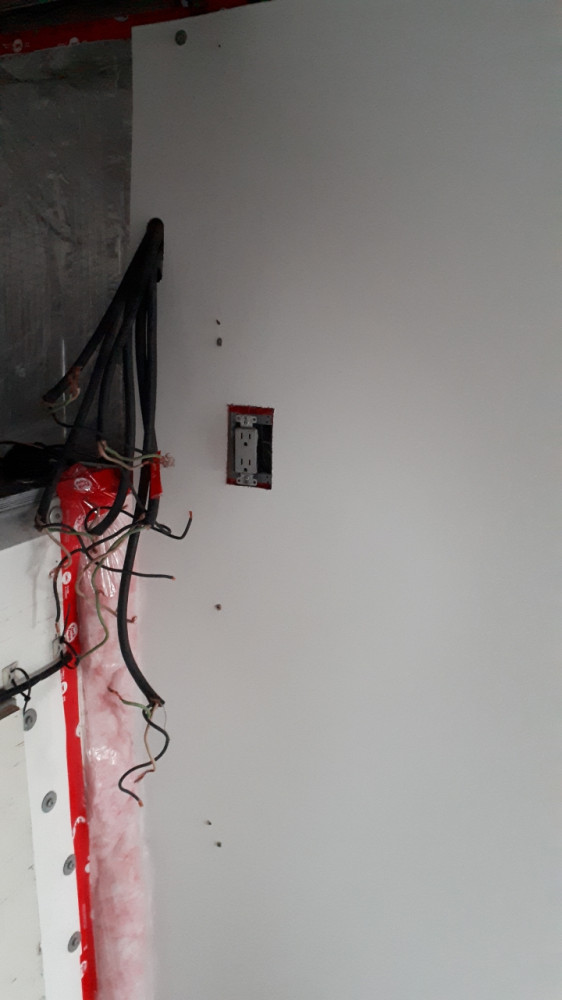
For the walls we've decided it's easier to just install a plastic tarp as a vapour barrier. It's faster to install and we don't need to run through a whole lot of tape. In the corner of the box was a piece of rounded bare metal, which needed some additional insulation. We patched it up with fibreglass (not cotton candy) and added plastic wrap.
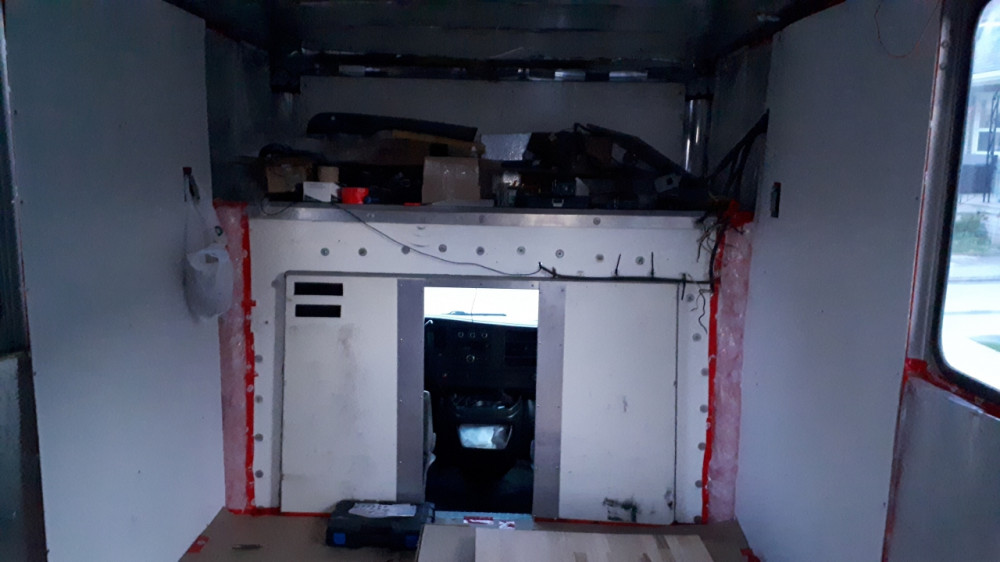
After preparing the first wall, we cut the wall panel to size, added a little cutout for the socket and screwed it in. Same thing on the other side of the box, with the addition of a cutout for some power cables which all end at this side of the box. When we get to that part, I will install the fuse-panel again and a switch which will automatically select shore-power (if available) or our own power from the inverter.
The Sky is the Limit
The alcove in the front is dedicated to the bed. It's a tight spot there always rather gloomy. Not too bad for sleeping, but we still think it could get somewhat claustrophobic up there.
There aren't that many brands of skylight available on the internet, so we went with the ICON RV Skylight (CA$136). We also purchased their rubber butyl sealant (CA$26) as this was recommended by those on YouTube. We're not sure if this bonds with the glass better, but it's definitely less viscous than the Dicor sealant we used for the vent. Including the aluminum flat and lumber for framing, this project cost CA$172.
Installing the skylight was the same procedure as with the vent. Measure the cutout and drill two holes on diagonal edges. Cut along the measurement lines in each direction from the holes until the cutout falls trough.
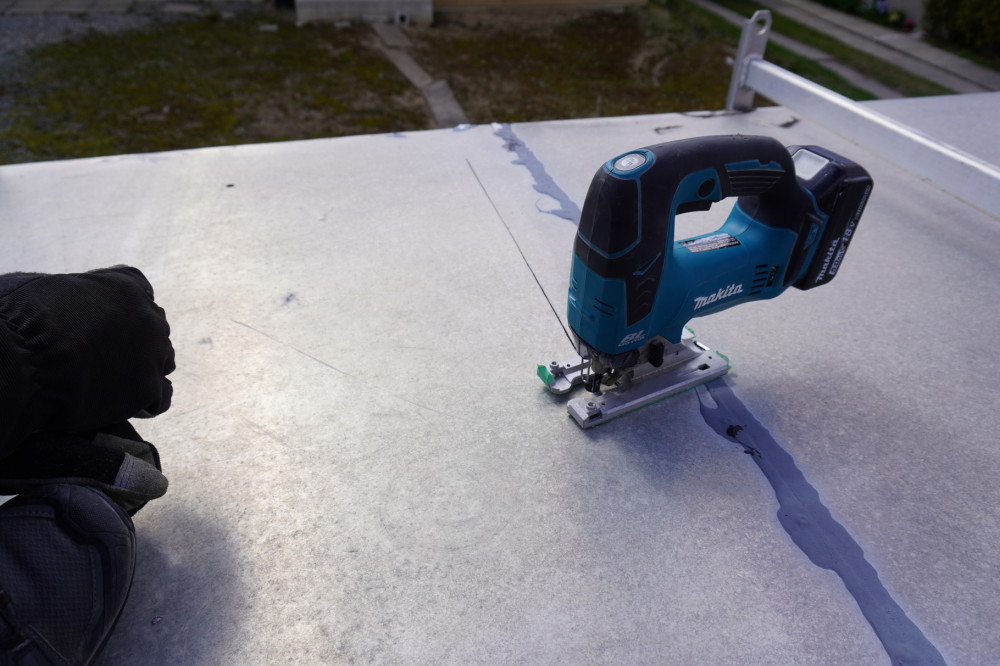
We then cut a supporting wood-frame for the bottom side and this time also a few pieces of aluminium flats, which will sandwich the skylight from the top.
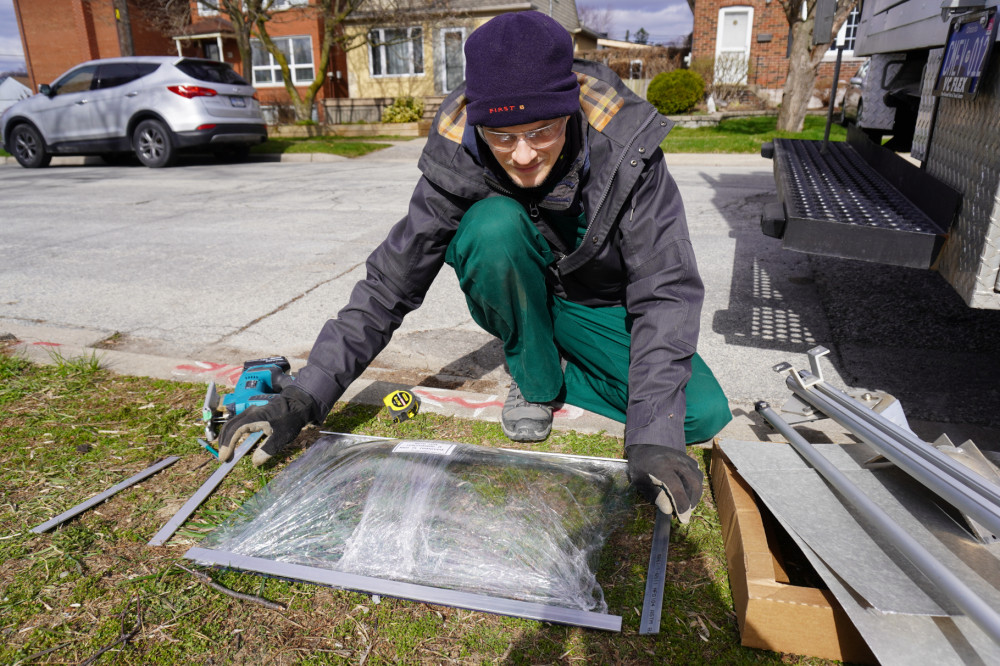
Reviewers online warned that the acrylic glass could break if the screws are too tight. The aluminium flat pieces will prevent too much force being applied to the edges of the screw holes.
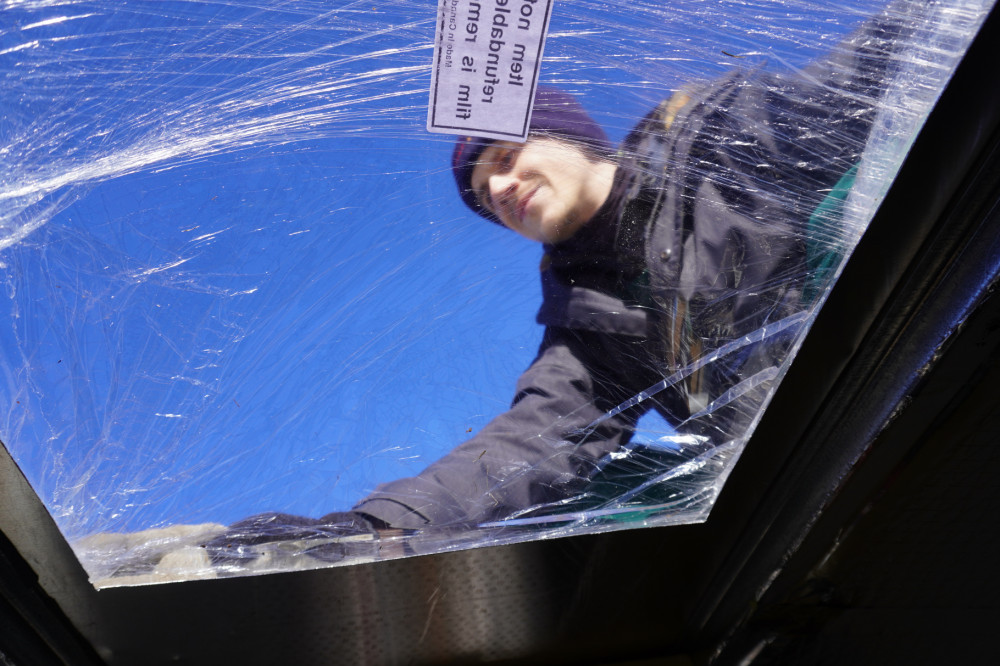
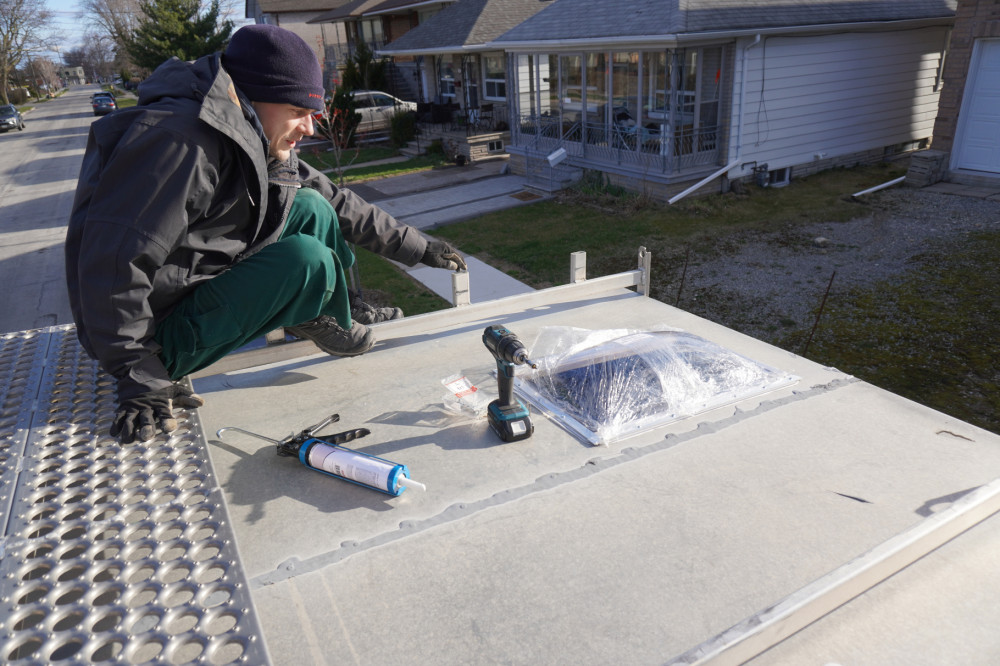
Last, a thick bead of caulk seals between the roof and the skylight.
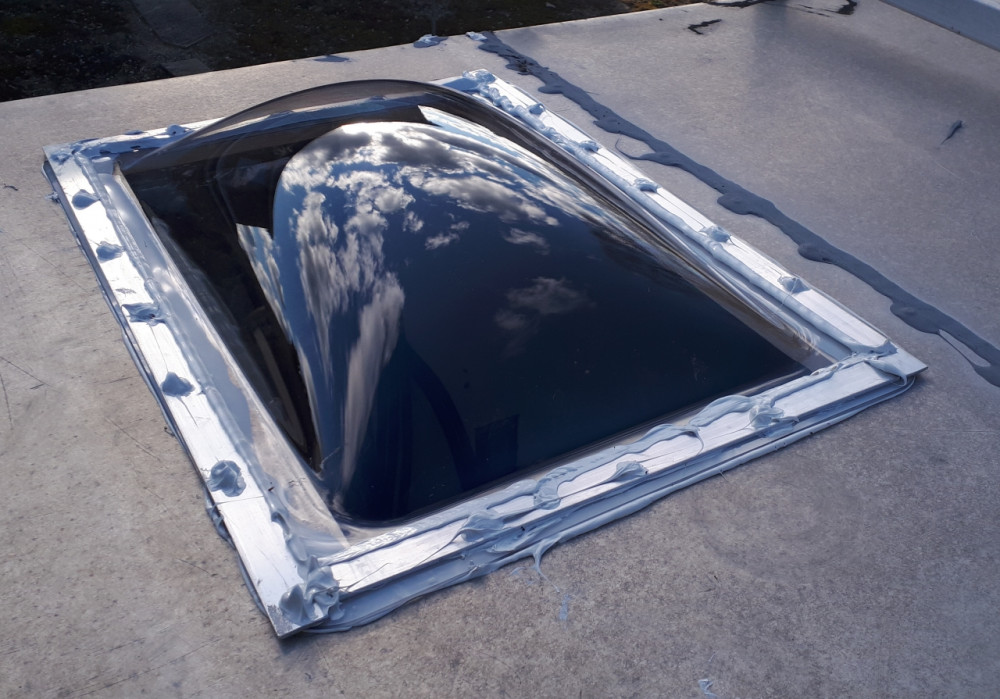
It took about four hours to mount everything in place, but we love it! It adds a lot more light to the inside of the box and we're really happy to have taken the extra effort and do another cutout in the roof.
Here is a before and after.

With our new window, floors, and the first two walls up, the box slowly starts too look like somewhat livable.
Spending Update
Chiko barging in here. I know we have been very intense with our saving strategy, especially with limiting our food and entertainment spending. With COVID, I had to relax a little and give myself permission to just take care of us. There is already a lot going on in our lives and we didn't need yet another restriction. That's not to say we'll go crazy and eat steaks every day, but we'll indulge a little during each grocery trip. Whether it be some fancy charcuterie, young coconut, box of cookies, just something to look forward to at the end of each day. In times like these, we'd like to remind you that these small gifts to yourself are important!
On the road to pitches,
Moritz + Chiko