Breaking Ground: The First Work Weekend
The first warm-ish weekends arrived and we got started on building out Cubert. In this post, I'll talk about installing:
- backup cameras,
- solar panels, and
- a Fan-tastic roof vent
This marks the end of removing pieces from the truck, now we're actually adding to it!
Installing Backup Cameras
Backing up the van is fine, as long as there's nothing right behind the box! On one of my first tries at reverse parking, it touched a lamppost in the parking lot (Chiko would say, "You bumped the only lamppost in the parking lot"). But gentle as I am, no damage, no harm.
I decided to get a system with 4 cameras so we could have two on the sides and two in the back. One of the rear cameras would point down directly on the hitch, so I can't bump into anything anymore, the other one will act as a rear mirror.
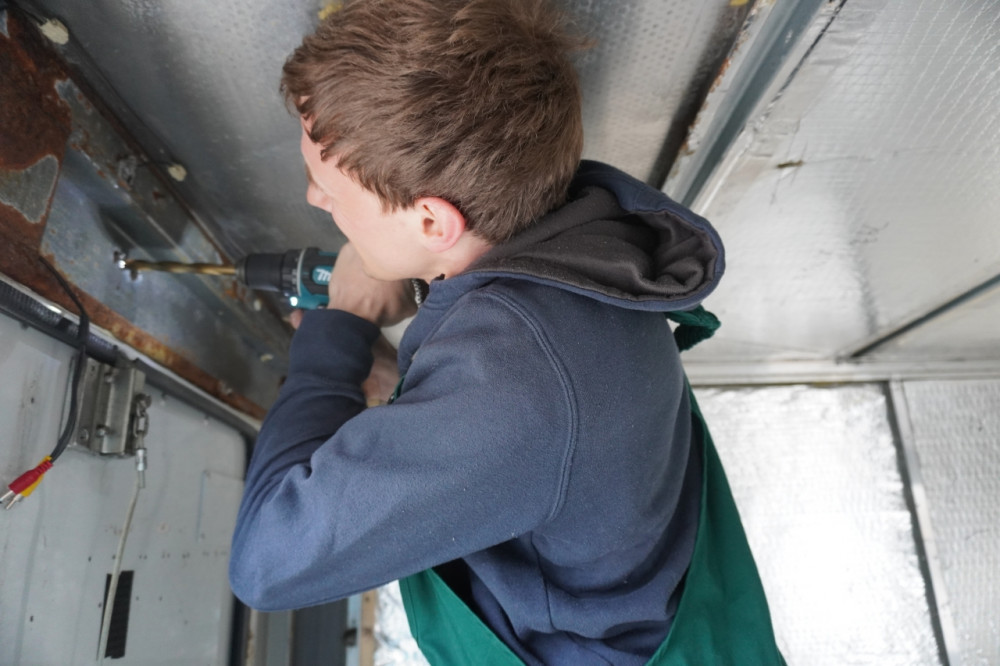 With all the walls down, it was easy to pull the wires for the cameras to the front. The set came with a very generous amount of 10 m per cable—more than enough to get from the back of the box all the way to the windshield. There already is a bracket from the controller of the arrow which will now be repurposed to hold the monitor for the cameras.
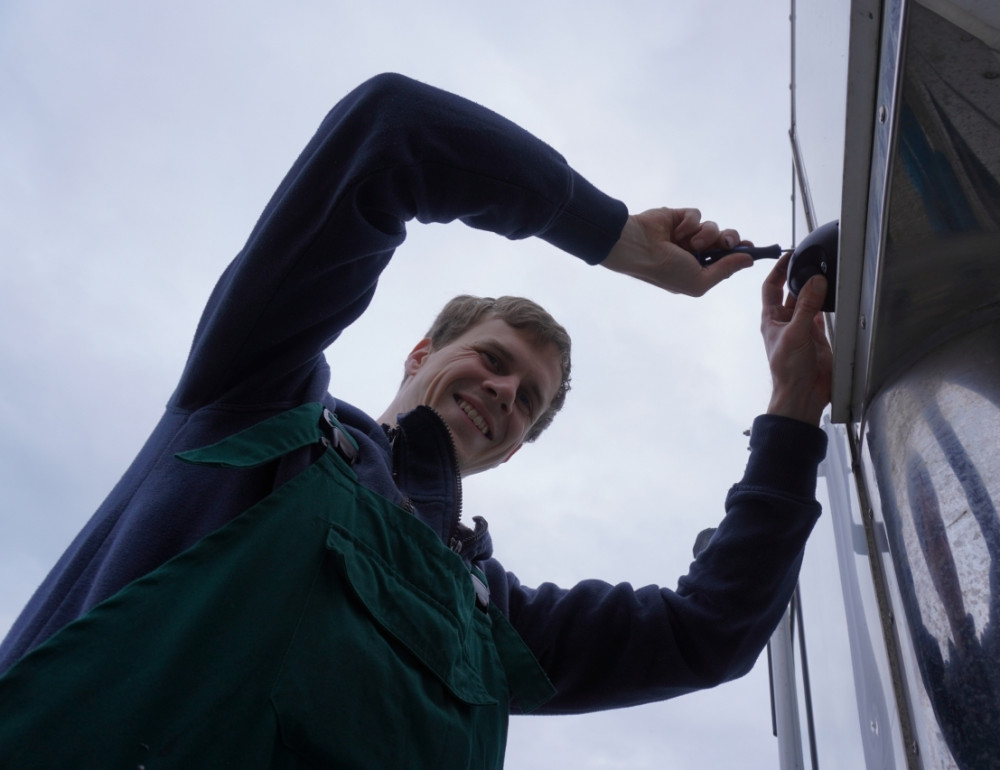
The overall installation was very easy:
- Drill holes for the wires
- Mount the brackets for each camera
- Pull the wires to the front
- Combine all power plugs for the cameras
- Plug in the signal cables to the monitor
- Start adjusting the cameras (this step is still missing, I still don't have power)
With the electrical issues mentioned I currently don't have any power to set the cameras up. Once that's fixed, I will show you some cool pictures of the surround-view.
Installing Solar Panels
We'll have a more detailed post later, but for now, I want to show you which panels we got and how we mounted them on the roof. We pushed up the plan for purchasing solar panels and the battery due to COVID-19—we are unsure whether the supply chain for these components will be affected in a few month's time. Despite this, overall, we were able to stay close to budget with our early purchases:
We did find a solar supplier in Toronto with competitive pricing, but ended up only purchasing a 24 V 100 Ah LiFePO4 battery. We decided to go with Amazon for the solar panels instead since the only suitable option from the supplier was a large 340 W panel. Internet chatter suggested using smaller panels on vans because big panels could have issues from vibrations while driving. We decided to go with four 100 W panels instead of one big 340 W panel.
The price, unfortunately, almost doubled because of that, but I can very well imagine that those tiny bond-wires in a big panel are more likely to break than in a smaller panel which will not bounce as much. Losing a whole string within the big panel would render it almost useless. There's no way I could repair that. With the smaller panels, it's easer to replace a broken one.
When our panels arrived, I noticed two of them were the wrong model. The label on the manufacturer's box showed the correct part number, but inside was only a 92 W version with a different label. Rather annoying, but we got it exchanged. That said, always check if you got the correct pieces delivered right away. You don't want to have your stuff sit there for a month and then you notice it's the wrong part.
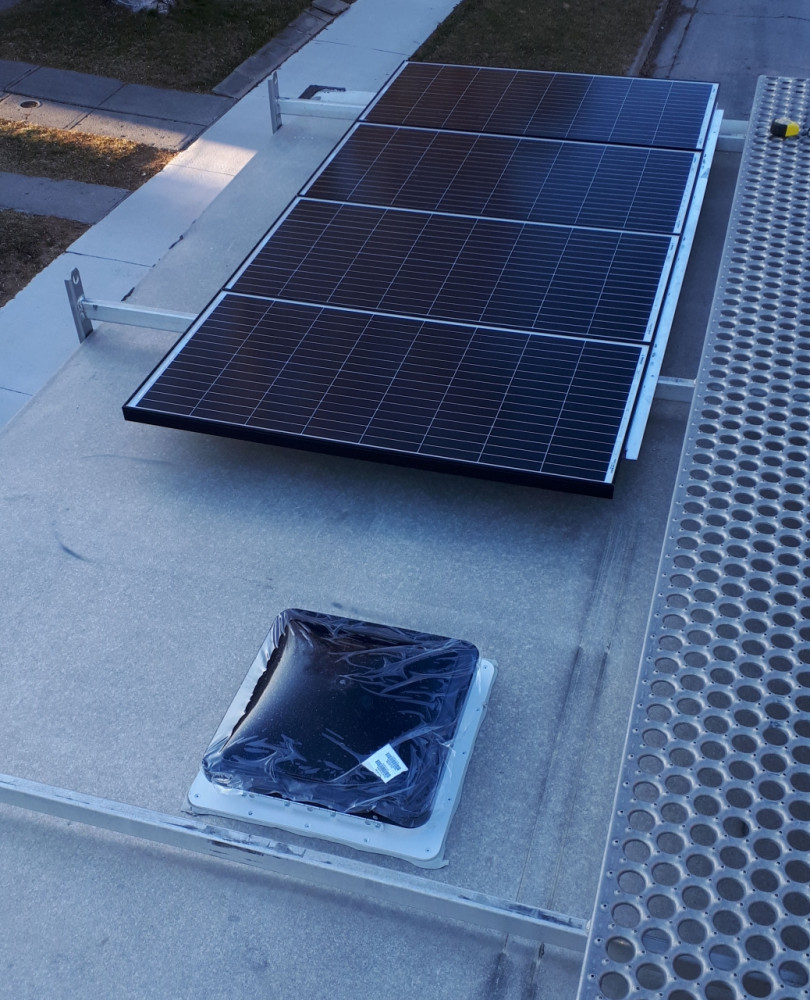
To mount the panels on the roof, I sandwiched them between two L-shaped aluminium rods. Taking sturdy 3 mm rods offers enough rigidity to hold all panels in place. In the end, it weighed over 20 kg, so a secure mount is key. Between the panels themselves went some caulk which should prevent them from rubbing against each other. The combined panels are then mounted on the roof rack. Since I don't want any screws to loosen over time, I used rivets. It also acts as a protection against theft. You'd need a bunch of tools and it would still take a lot of effort to remove those rivets.
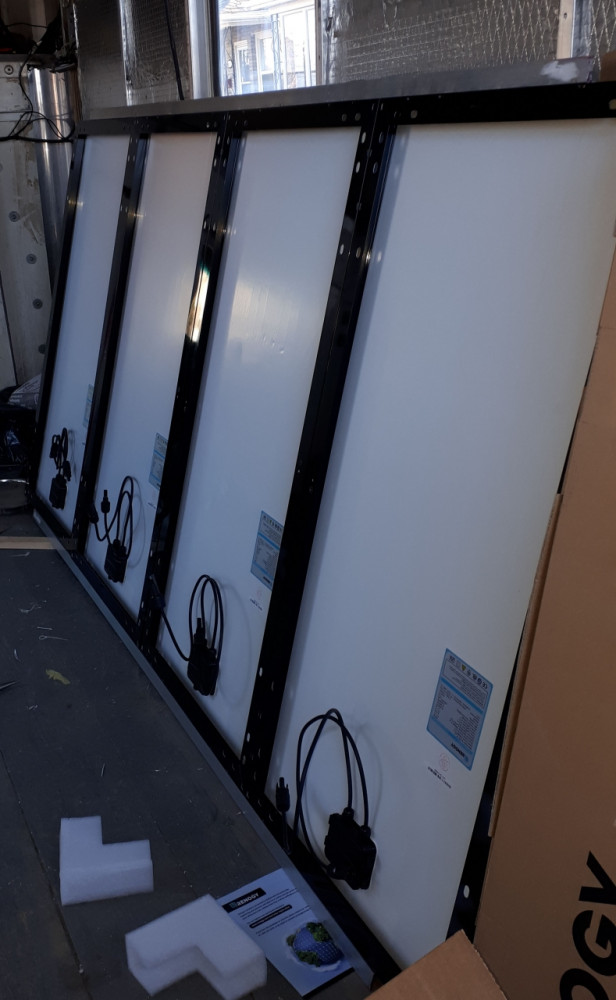
Two panels each are hooked up in series resulting in two 24 V strings. These are then hooked up in parallel. I'm hoping this way will reduce losses if one of the panels is partially shaded. More on that in the—soon to come—solar post. The wires are fed into the box underneath through the former cable gland of the arrow.
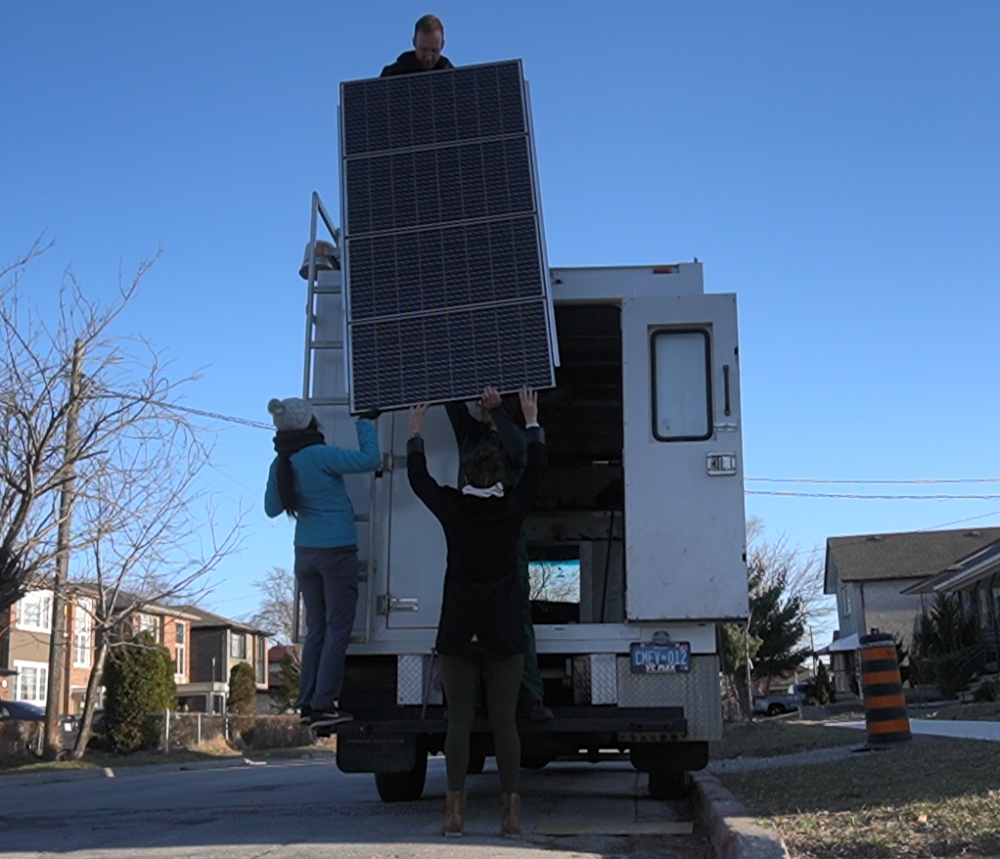
A shoutout to our awesome neighbours across the street who were just heading out to grab dinner and helped us getting the massive panel onto the roof of our truck! We couldn't have lifted it by ourselves. In the end it was all four of us pushing and pulling it up there.
Installing the Ceiling Fan
If the sun's burning down on the box it will get hot, regardless of the insulation. So we need some ventilation as the windows in the box cannot be opened. A ceiling fan is ideal in this scenario for removing the air where it is the hottest. The hatch is translucent and will add more light to the interrior. We looked up a bunch of models. There are really inexpensive skylights (with no fan) and then super expensive ones with automatic temperature control and an electric opening system.
For most of the inexpensive fans, online reviews indicated the manufacturers are using cheap plastic which is not made to last very long in harsh outdoor conditions. I wouldn't mind designing and building my own fan into a hatch, but I'd definitely mind if the hatch breaks after a few months due to the plastic becoming brittle.
Eventually, we decided to go for the lowest priced Fan-Tastic Vent (as opposed to a MaxxAir Vent). If we needed a more advanced temperature control or wanted to have the fan blow in both directions, I'd just solder my own controller. It's really not that hard. All you need is a temperature probe, a little micro-controller and a motor-controller—all pieces you can get off eBay for like $10. Oh, but you need to know how to program the micro-controller. Maybe I can write up a how-to on that at some point.
Cutting the Hole
This was a nerve-wracking experience. I had Chiko come along for emotional support and to operate the camera.
Measure 20 times and cut once. Lest you have to cut 20 times.
The roof of the box is made of a big piece of sheet-metal and supported by crossbeams about every 60 cm. In order to center the vent between the crossbeams, take the distance of the beams, deduct the size of the hole and devide it by 2. That's how far you have to place the hole from the crossbeams. Same goes for the alignment to each side of the box. Once you've marked all four corners, you want to make sure your hole is square. That's easily done by measuring diagonally between the corners. They should be the exact same. If that's the case, you can connect the corners with lines and it should match the vent.
Now comes the scary part: drilling holes into the roof. Choose one corner and drill a hole. Take the opposite corner and drill another hole. From each hole, saw along the lines until the corner with no hole and after four cuts you should end up with a nice and square opening for the vent. We used a reciprocating saw (a jigsaw should do as well), which cut through the metal with ease.
After the cut, the hole was slightly too small and the fan didn't slot in comfortably. Looking closer at the construction of the hatch, there was actually a 1-2 cm space between the inner part and the screw holes on the lip which would sit over the ceiling. I was really worried about cutting too wide, because once it's cut you can't go back anymore. But leaving a bit more space would have saved us almost an hour of filing and trimming the metal.
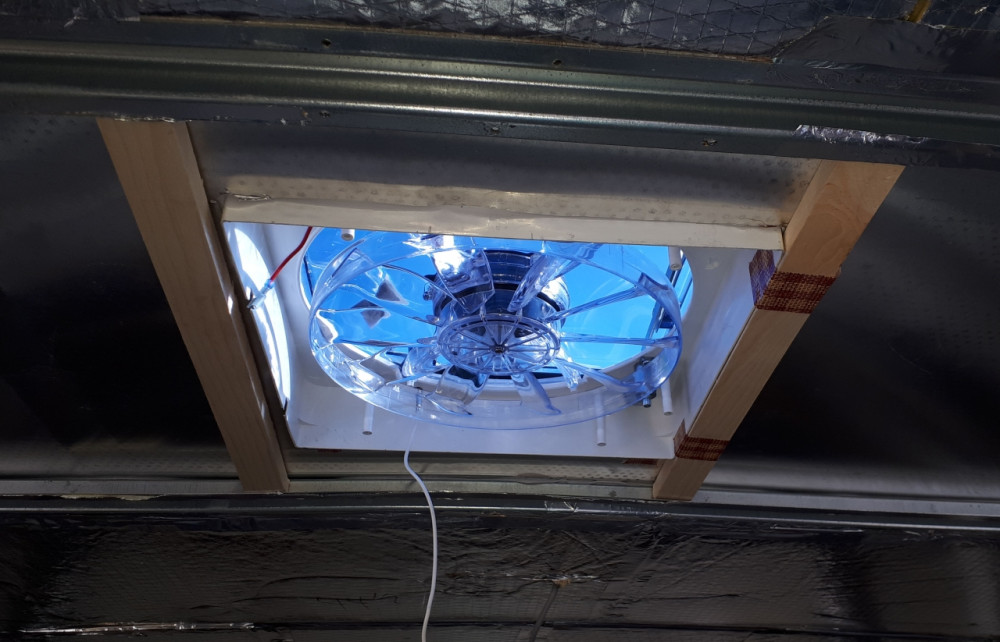
We added a wooden frame on the underside. The metal is very thin and the vent would jiggle around a lot if not for the additional framing. The picture only shows half of the frame, of course there's wood on all four sides.
Sealing the Vent
We sealed the vent with a layer of butyl seal tape. Butyl rubber is an elastomer and used for airtight sealing making it a perfect sealant for our vent. Never heard of butyl before? It's also known as chewing gum (Chiko, "Oh, is it?! Cool."). After all the screws are put in, they are covered with a self leveling caulk—this stuff creeps into every corner and prevents any bubbles.
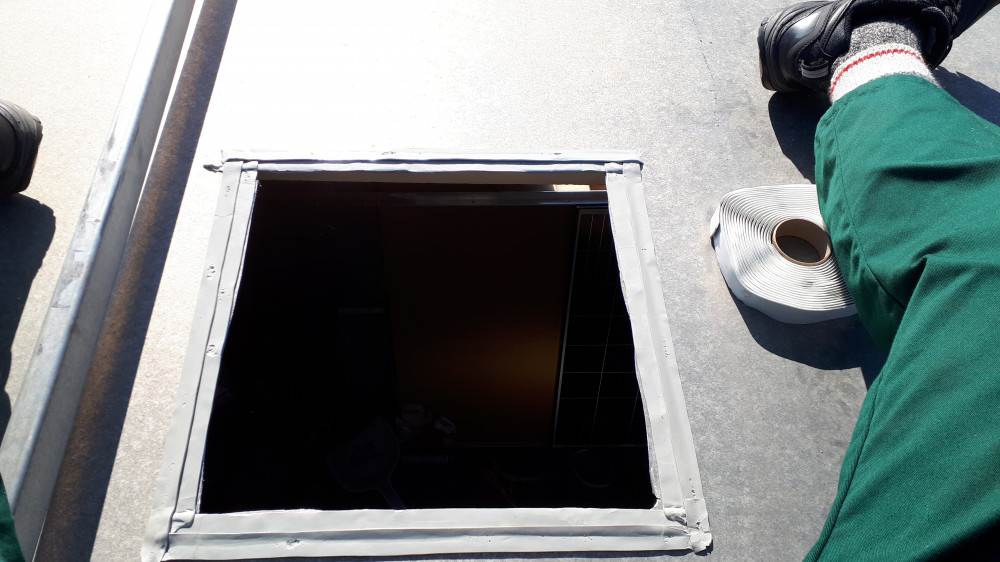
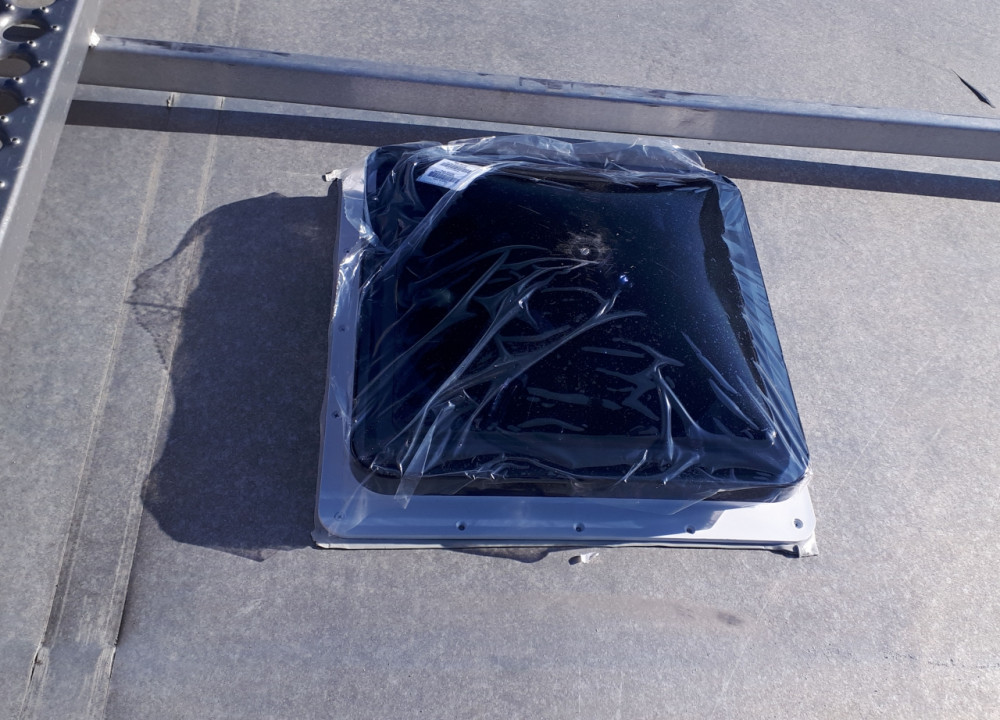
It took a bit of effort to make everything fit. As you can see I needed to lay out two rows of the tape, as one was just too thin for the overlap of the vent. But when it finally pops into the hole, it will look like this:
Next Steps
What a successful weekend! Both vent and solar panel are fitted in and we can continue with the next steps of the build out.
We will install another skylight in the alcove in the front where we are planning for our bed. The insulation needs to be enhanced in the corners of the box and we need to replace the fiberglass mats that were exposed to the water and had mold in the back. Then we can add insulation to the floor and put the sub-floor panels in.
The heater needs to be inspected and wires for lighting put into the walls. After that we can install the wall panels and build all the frames around the doors and windows. When that's done, we'll wrap up the rough-in phase by putting in plumbing (fresh water and gray water, shower, sink), more electrical (e.g. solar charge controller, battery-charger through the van's alternator, inverter for 110 V appliances), and setting up the first furniture (bed in the alcove, kitchen counter, dinette).
That's the rough plan and we will post updates regularly!