The Work Continues: Power, Heat, Subfloor
With social distancing and mandatory isolation in full force, we still haven't returned to the office. The added benefit is the hour+ that we save each day from not having to commute. Chiko chooses to spend those extra hours working, but I've been able to put in some time on the truck. In this post, we'll cover:
- Getting power into the box from the alternator
- Testing, removing, and cleaning the heater
- Patching the insulation
- Laying down the subfloor
Power Hour
There were a number of clues which led us to figuring out that the cut-off relay was broken:
- The arrow lights never worked.
- The external utility light was also kaputt.
- The auxiliary batteries were drained.
- The heater worked when connected to a power supply.
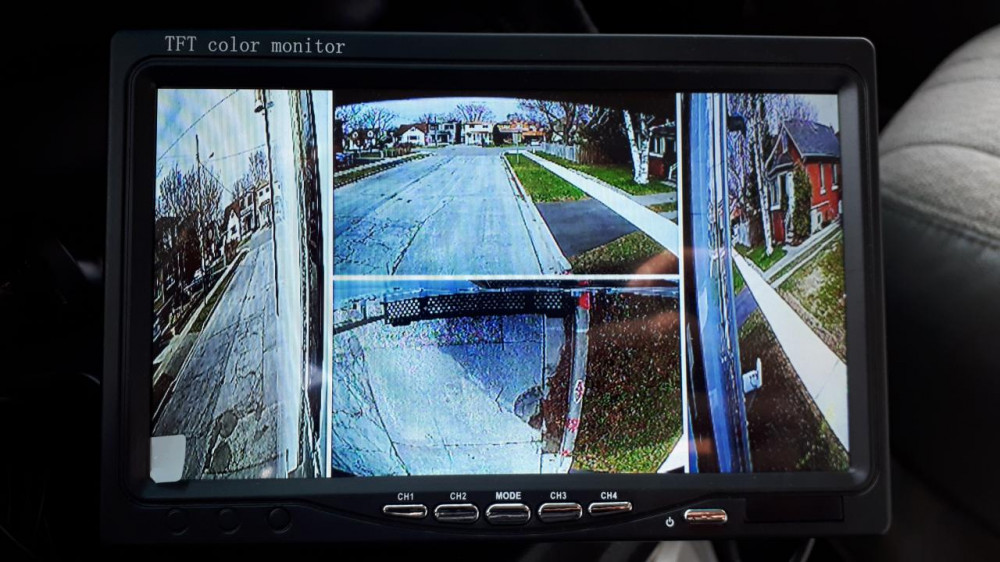
In the previous post, I covered installing backup cameras, but I couldn't show you any pictures because there was no power. I had repurposed the electrical cables that fed the arrow lights to now feed the cameras. After several close calls with lamp posts and fences, I thought it was best for me to sort the power out first.
Tracing the wire which controls the relay showed it was getting its power via a—so called—pick fuse from the fuse for the instrumentation panel. A pick fuse is a plug which you insert in place of a fuse to "pick" the signal from. This plug has a holder for two fuses now. The lower one will be the fuse you just replaced, the upper one protects a little pigtail coming out of the plug. You can then connect this pigtail to whatever you want to feed the electricity to—in our case it was connected to the coil of the cut-off relay.

Measuring the pick fuse with the multimeter showed it was not connecting properly. I assume vibrations broke the internal connectors over time. This piece should be a few bucks—so I thought—but it turned out to be super expensive! Even online! It was at least $10 and since we wanted to finish for the day, we decided to bite the bullet and buy it at Canadian Tire for $16.
On the upside, WE HAVE POWER NOW! With all these angles, there's no way I'll be hitting lamp posts any time soon.
Turn Up the Heat
Previously, I had mentioned that the truck came with an Eberspächer Airtronic B4 heater. If you've looked into heaters, you might have come across the more popular D4 model. The B model of the Airtronic line is, mechanically, the very same piece as the D models. The only difference is that it runs on gasoline instead of diesel. For us, this is ideal because it has been connected directly to the fuel tank and we won't need to carry around a separate diesel tank.
When we first checked out the truck, the controller display was showing "Maintenance required." Pressing the buttons on the controller didn't seem to have any effect and so we ignored that piece and started with other things. After discovering the broken cut-off relay, my guess was that the external batteries in the box died because they were no longer charged. So the heater was likely not broken, but it just wouldn't turn on due to the under-voltage.
Running Some Tests
I was unable to use the cable from the alternator as it was still wrapped in electrical tape to prevent short circuits. I used an old computer power supply and though it still complained about maintenance, it turned on!
Fantastic news! This is a branded model and will last forever. One of the labels shows it was produced in 2010, so as you can see, even 10 years later and entirely covered in dust it still works. We could've never afforded one (or better, would never be willing to afford one) with a price tag of $2,500. But since it came with the truck, we're more than happy that it works and we'll gladly use it.
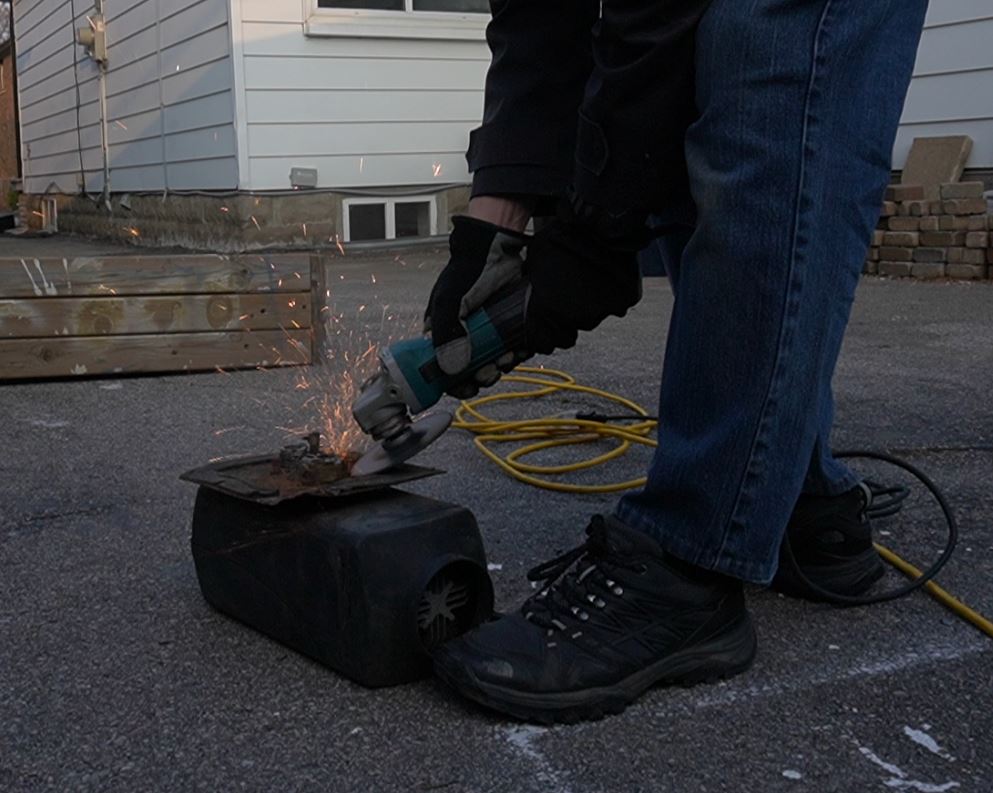
The heater was bolted onto a steel plate which was then bolted to the floor. We had to remove it in order to install the subfloors. It was easier than expected: remove the four screws that held the mounting plate in place and detach all the lines (fuel line, air intake pipe, and some electrical wires). The plate it was mounted on was badly rusted and so were the screwheads. I couldn't get them loose so I just cut them with the angle grinder. At least it makes for some great footage of sparks flying all over the place.
Cleaning a Decade of Grime
The heater gathered quite some grime over the years. We I spent a good portion of my evening (Katy called Chiko and then they called Gill and you know...) brushing off the plastic casing. Then I detached the pre-chamber (that's where the air intake fan sits) from the burn chamber. In an instance of using the wrong tool for the job, I accidentally broke the glowplug trying to remove it. It's made of a silicone-based ceramic and breaks very easily. I hardly touched it! Still, it's done now.
Looking up the original part from Eberspächer showed a $180 price tag—enough to buy a new heater. But there are aftermarket products, so luckily we found a replacement for $30, including the right tool to mount it. I think we would have replaced it anyways, just to make sure the glowplug doesn't give up on us on the road.
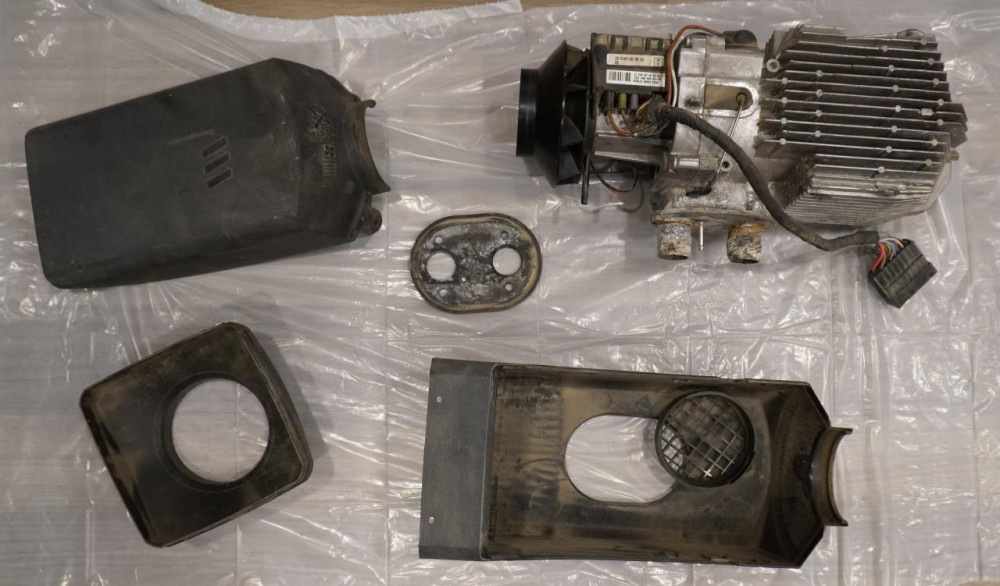
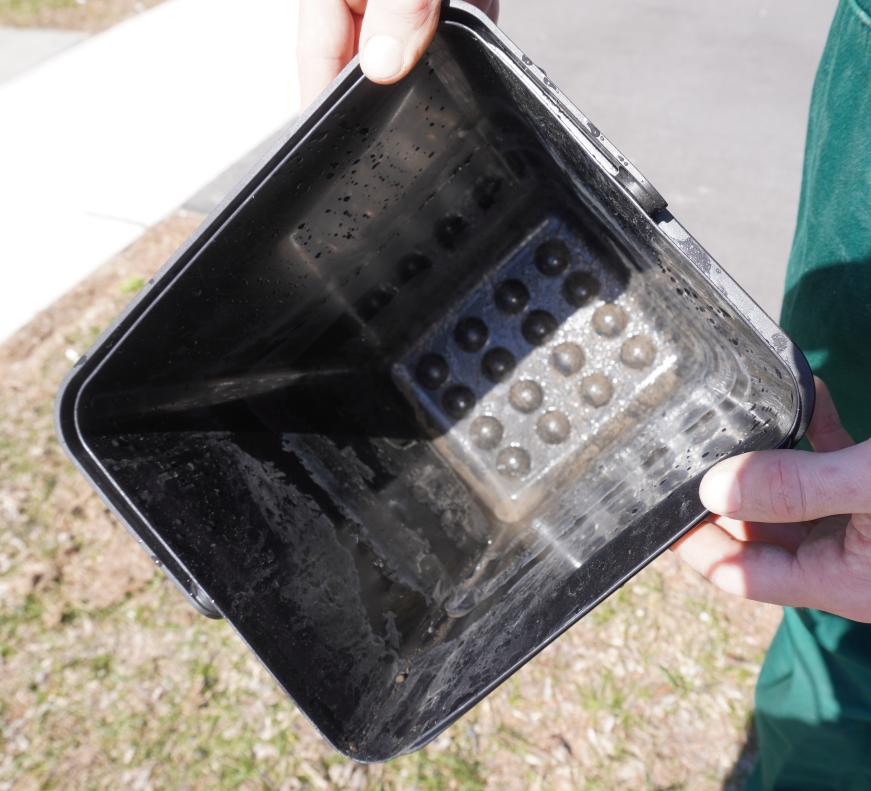
To get rid of all the dirt in the fins of the heating element, I first tried to get into there with an old sock and a skewer. It was partly successful, but I couldn't get all the way down to the bottom. In the end I just submerged it in a bucket with soapy water overnight. The next morning, it was mostly clean and ready to be reassembled.
The intake fan had a tonne of very fine dirt attached to it. You can't get at it directly, so I just knocked it until there was no dust falling out of it anymore.
Both intake and exhaust on the casing were covered in an odd mixture of road dirt, what seemed to be salt from the winter, sand, and bits of rust. The heater is made of cast aluminium, so it didn't suffer from rust itself. It was mounted on a steel plate though that had suffered from the time on the road. Also, the heater is not mounted in an ideal spot, in my opinion. It is sitting directly over the tire and I think that's the main reason why it got so dirty. With a Dremel, we could get rid of most of the dirt and it's looking as good as new now.
Unfortunately, we will still mount it at the same place as that is where all the lines end. I'll definitely mount some deflector though so the tire can't spin its dirt directly up onto the heater. Last, the heater is also missing an exhaust pipe. We've ordered a new intake pipe (with filter) and an exhaust pipe (with muffler) to properly mount the heater from now on and protect it from the elements.
Adult Tetris: Patching Insulation
We had to replace some of the fibreglass panels in the walls and ceiling as they acquired some mold from a few leaks at the rear end of the box. The leaks are now sealed and the walls ready for insulation. We couldn't find any fibreglass mats in our local hardware store like the ones already installed so we went with styrofoam panels. They also came with vapor-barrier foil and are a good substitution for the fibreglass.
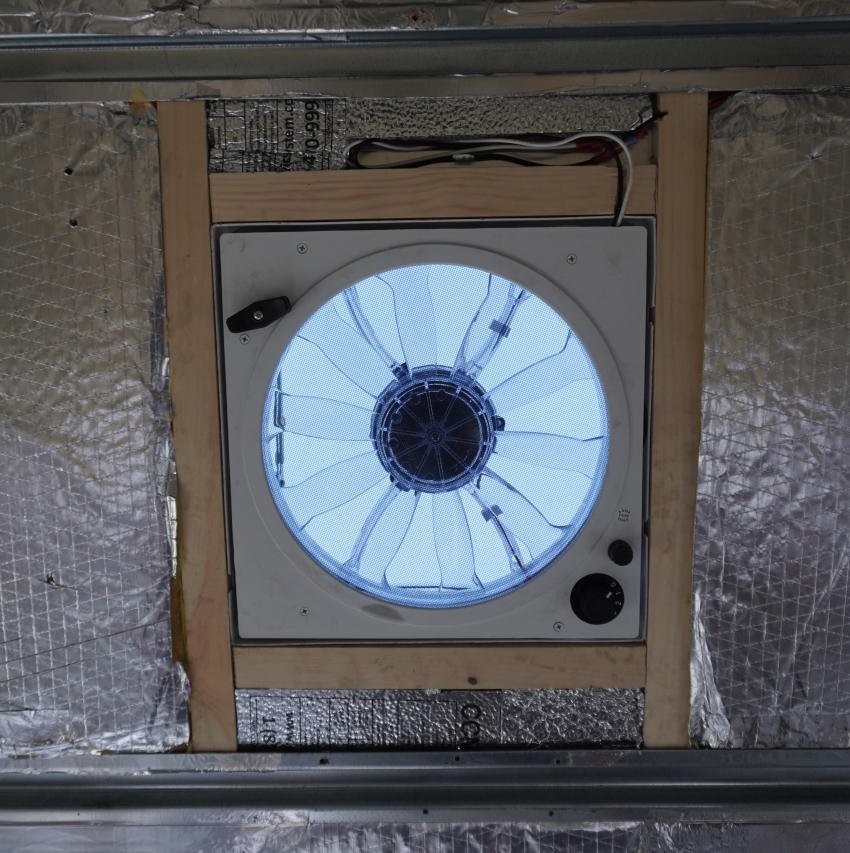
First we mounted the panels on the ceilng and in the back next to the doors. We cut the fibreglass panel which sat in the space of the vent and placed additional foam panels around the wood-frame.
Installing the Subfloor
The floor of the truck is made of 6 cm thick wood planks. The wear and tear over the years has made the floor bumpy and worn down in high traffic spots. We both run cold, so having a properly insulated floor was a must.
Moritz the Cleaning Machine
(Chiko picked that title.)
Did you know that your North American "Mr. Clean" is called "Mr. Proper" in Europe?
Time to prepare the floors. It was Friday by now and we had a whole day to do some spring cleaning (I took the day off and Chiko helped in between meetings). The box smelled like soot, car grime, and dust with a light feathering of smoke.
First, we needed to clear out everything in the box and do a full scrub down of the interior. It took all morning until we had wiped down all the old insulation (twice), vacuumed all the gaps between the floor and the walls, and finally, swept and hand-scrubbed the entire floor with a wet cloth. It was a LOT of work, but it was also very necessary and satisfying. The truck already smells a hundred times better.
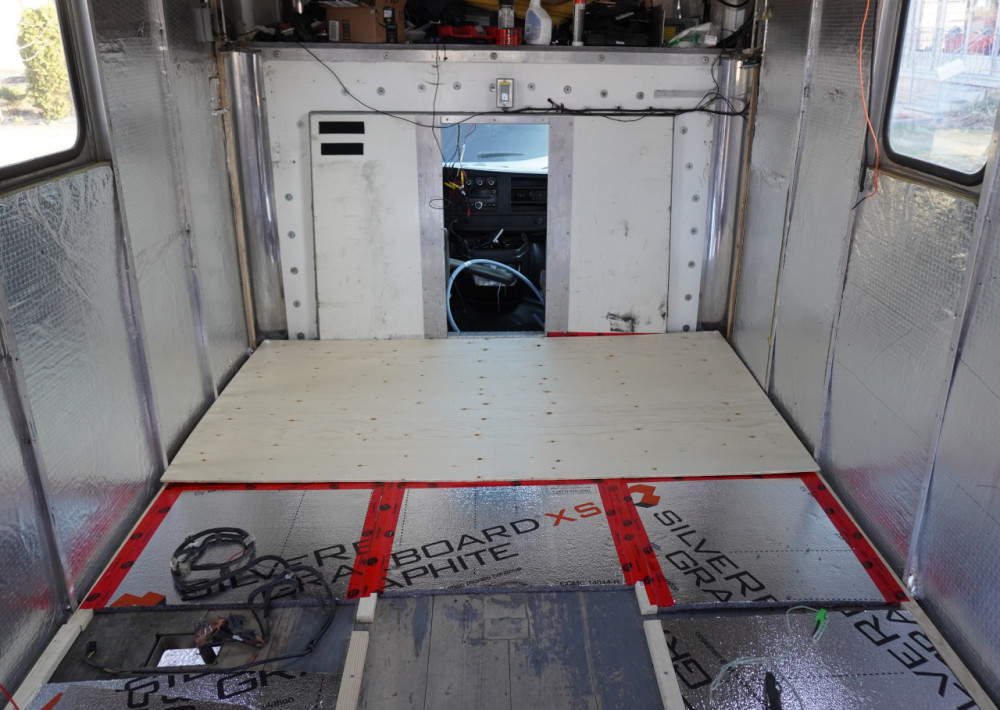
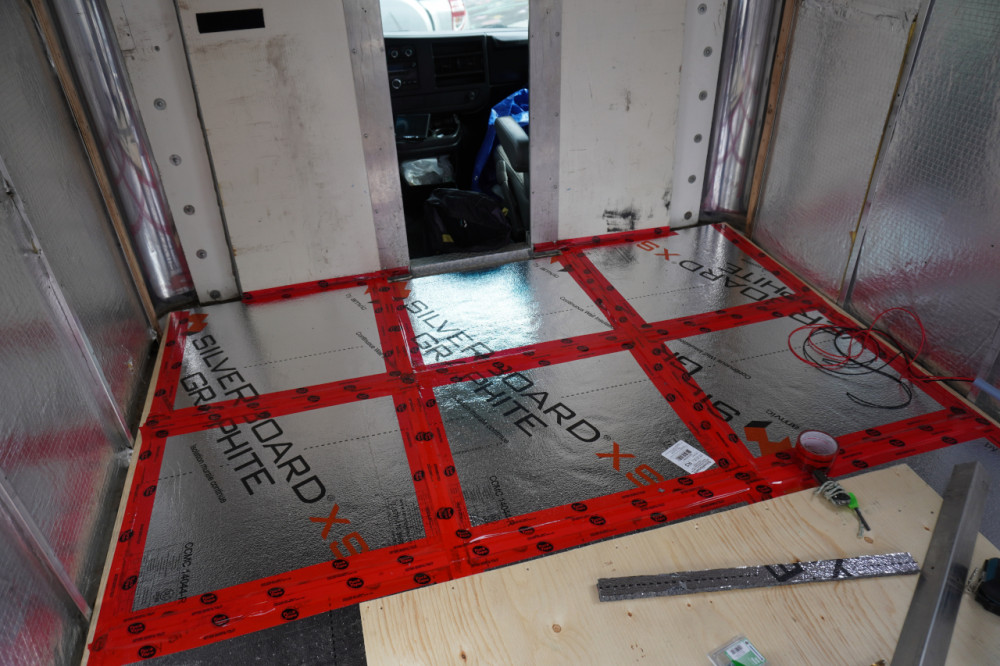
Next we mounted some longitudinal wooden spacers to the floor which would suspend the plywood over the insulation panels. Between the spacers we put the styrofoam panels like we did it for the walls. Edges and gaps were taped to prevent moisture from seeping under and creating mold.
It was evening by this point and Chiko got a little hangry, so we called it for the day. This was our progress at the end of the first day.
Adding a Conduit and Framing the Heater
The weather held up and we continued our work on Saturday. We left a gap in the middle of the floor to put in a conduit for wires. It will allow us to easily pull wires from the left side (where the main power wires from the front come up from the bottom of the floor and where I'm also planning to put the battery, solar charger, and inverter) to the right side (here will be our kitchen counter and dinette).
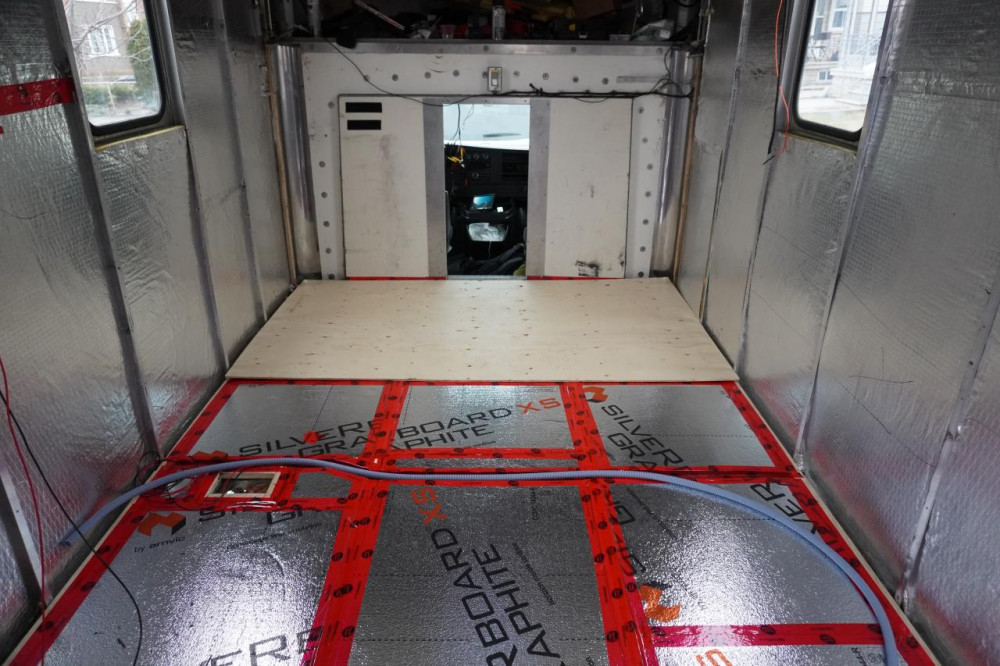
Chiko had gotten used to the drill and didn't have any work-work, so we made a lot of progress. The most time-consuming part was taping underneath the conduit and cutting the twisty channel. Not pictured here was that we left the middle panel of insulation to install last to give us space to work from. The styrofoam boards crushed easily under our weight and we ripped the foil in many places.
We were SO proud of our progress, but when we test-walked on the boards, the bounce-factor was a little too much for our liking. We realized we had mucked up by not adding in lateral spacers. Not only that, but the conduit was 2 mm wider than the spacers and needed to be ground down.
We posted a sadface on Instagram and decided we'd do it properly to make European Mr. Clean proud.
Ripping Up the Floors
Time and time again we had been told not to take any shortcuts. Tiny mishaps during construction will accumulate and next thing you know, you've built a funhouse.
It was Sunday by now and we woke up to a green weather radar. There was rain for the majority of the morning. When it all cleared up, we brought the truck over and undid much of what we had done the prior day.
We removed the plywood boards and sliced out channels in the insulation for the lateral spacers. The wind was gusting outside into the truck, taking all the tiny styrofoam nubbies with it. Add to this a fine dusting of micro-plastic dust from grinding down one side of the conduit and we had an asthmatic environmentally-unfriendly party.
"...and we had an asthmatic environmentally-unfriendly party."
We could've shaved the conduit outside, but we wanted to contain as much of the plastic as possible and properly dispose of it in the trash.
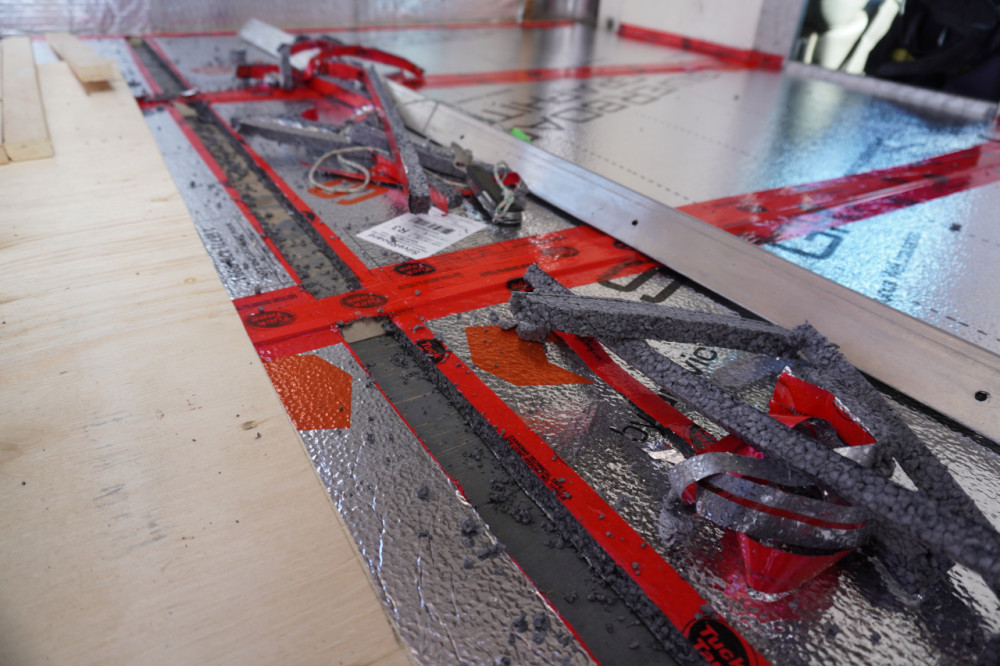
We now had lateral spacers at the midpoint and ends of each plywood board, which added a lot more rigidity to our floor.
When we were done with all the flooring, we had gone through:
- 60 m of tape = $10
- 22 m of 2 cm x 4 cm lumber = $60
- 3 sheets of plywood at 2.5 m2 each = $60
- 2.5 sheets of styrofoam insulation panels at 2.5 m2 each = $25
- 200 screws = $15
- Total cost = $170 + HST = $192
We are currently within budget, but more lumber is needed to complete the structure of the box.
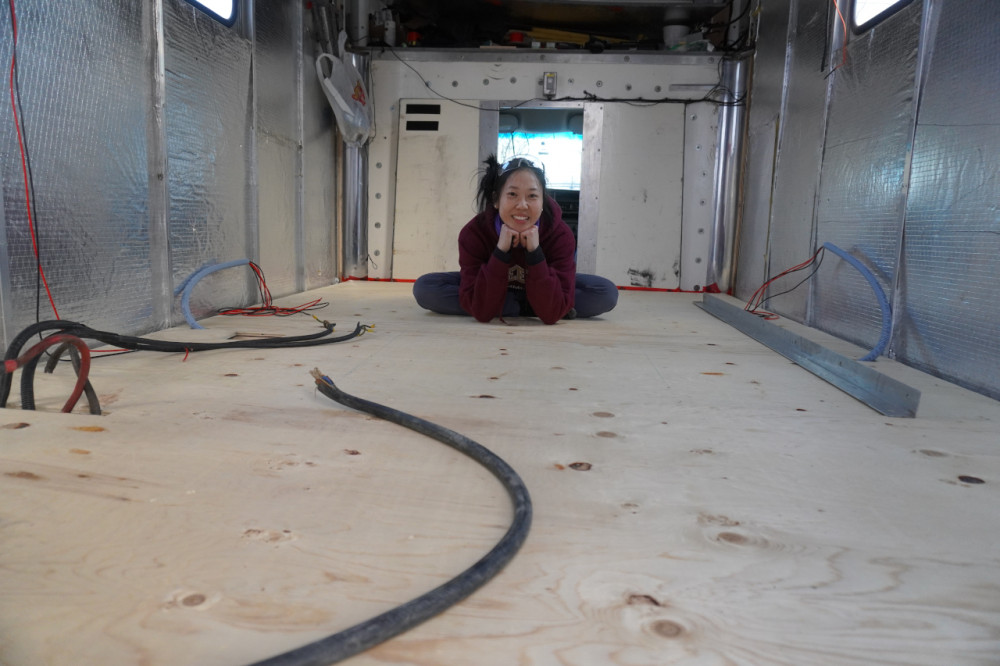
Here's a happy Chiko after a weekend of great progress. Look how much bigger the space looks with the lighter floors!
Owen