We Bought Our Truck!
We were going to announce this later with our reveal video, but we JUST COULDN'T WAIT!
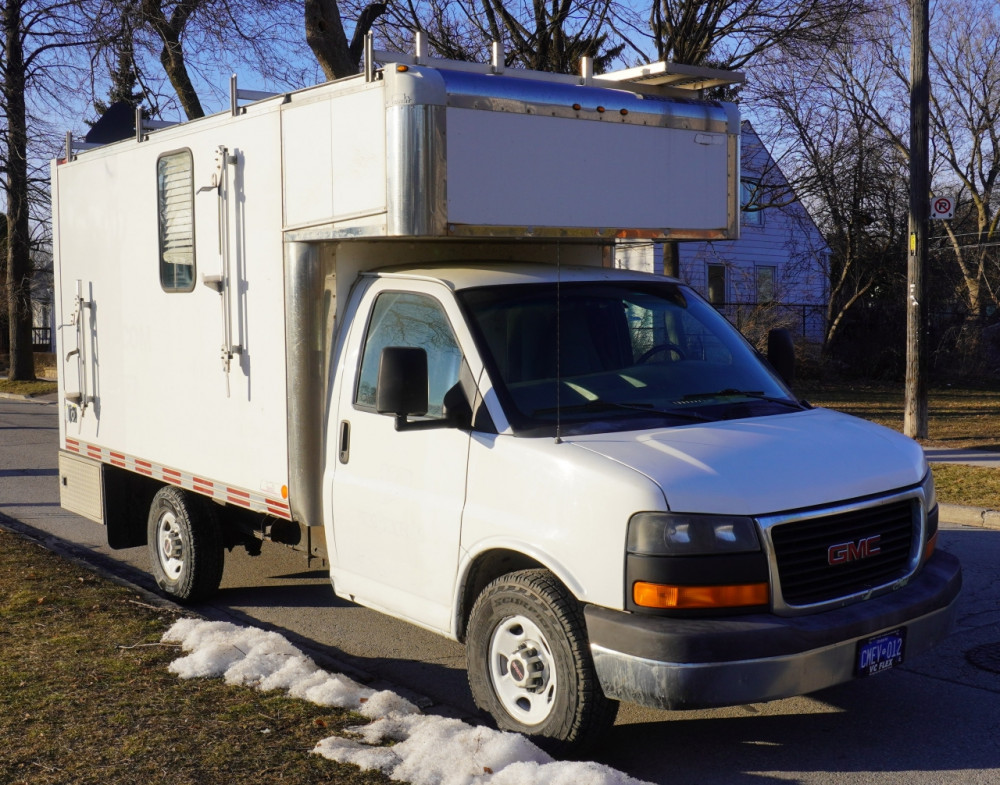
Everyone, please meet the newest member of our family...Cubert.
Vehicle Overview
We're back from our trip and finally starting on the fun part: the build-out. To give you a bit of information on our vehicle, let's start with the basics. An intensive period of research came to an end when we finally put down the deposit about two months ago. As we're aiming to travel a whole year, I always had in mind going a little bigger than the typical Sprinter van. A box truck seemed ideal in my mind. It offers a lot of space, so you're not limited in weight as with regular vans. Additionally, it's got square corners, unlike whereas Sprinter-type vehicles typically have rounded shapes and would require us to adjust everything.
It took some convincing to have Chiko also like the idea of getting a box-truck. After weeks of searching, we finally found the perfect vehicle.
Born in 2009, this GMC Savana G3500 is a cut-away van with a 12 ft box.
Our Truck Specs
- Model/make: GMC Savana G3500 Cut-away
- Year: 2009
- Mileage: 292,000 km
- Engine: 4.8 L SFI V8 vortec gasoline
- GVWR: 4,500 kg (10,000 lbs)
- Transmission: Automatic, RWD
Cubert's prior life was spent all over Canada with a cable company (as in telecommunications) to splice fiberglass wires. By that it was already fitted with two windows on the sides, barn doors in the back und came fully insulated. Another treat was the Eberspächer heater so the technicians didn't freeze while tediously splicing wires. If you're not familiar with the telecom industry, imagine sitting in the box and bringing a few hundred tiny wires together. They are really tiny, about 400 µm—that's less than 0.5 mm (0.016 inch). The heater delivers 4 kW and is already connected to the gasoline tank of the van. Super convenient, so we don't need a second fuel source.
Other amenities of this van is a ladder going to the roof. On the roof are a narrow walkway and a roof-rack which will be perfect for mounting our solar panels. As the box sits on top of the frame and the wheels, we don't lose any space on wheel-wells and have plenty of space on its underside to mount plumbing or cables. Did I mention there's also a storage box mounted under the back?
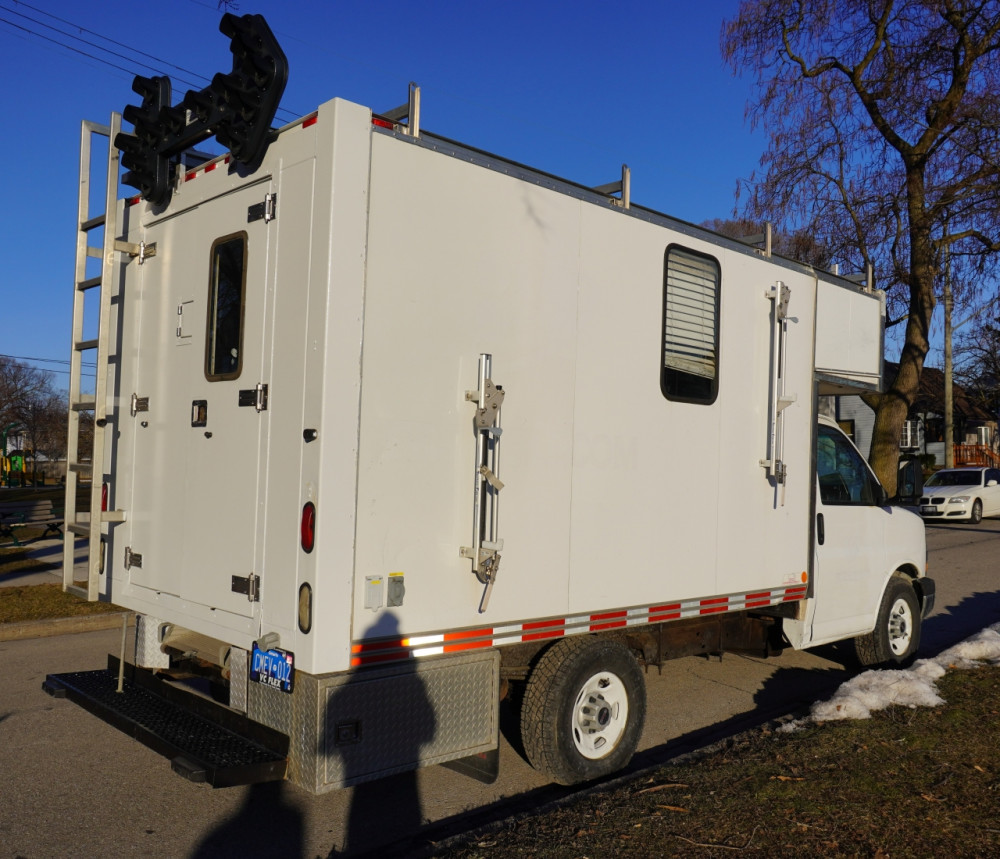
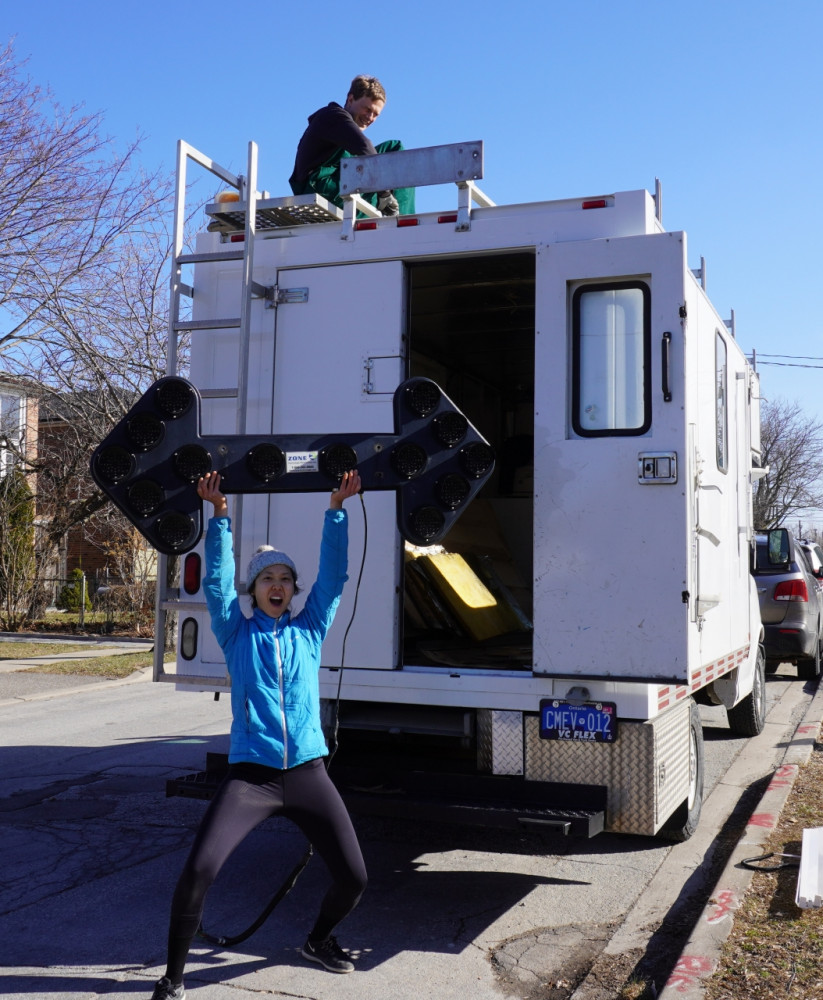
Since the box was professionally built, they also threw in some 110 V sockets with a proper fuse box, a covered socket on the outside, and of course, a separate plug on the outside to connect to shorepower. On the ceiling are 12 V LED lights. We'll replace those though, cause it's the type that makes you look like a zombie. Another fun light that's mounted on the outside, is a giant arrow—you know, those ones, that tell you to move over.
The last piece to mention is, the van is at the 10,000 lbs gross weight, so it is not considered a commercial vehicle. We won't be required to drive onto any scales during our trip. Hence, we also got nice single wheels in the back and not bulky duallies.
The downside of the truck, obviously, is the higher gas-mileage. In city traffic, we hovered around 24 to 26 l/100km. On the highway, it's about 18 l/100km, which isn't that much more than a Sprinter. The engine is a V8 with 4.8 l running on gasoline. Our European readers would likely have expected a diesel engine on this type of van that could actually bring down the fuel bill by quite a bit. But since we're planning on going as far south as Mexico, it's actually not too bad having a gasoline engine, as it seems rather hard finding diesel in Mexico.
First Inspection
We found the van online (where else?) and the photos looked very much like what we wanted. Our first visits at the dealer was promising—there wasn't too much rust considering the age of the vehicle (remember, it's from 2009). The day we went to take a look was probably the worst January weather in many years. Being in Canada, you'd expect a snowstorm. Instead, it was pouring down in buckets. This way, however, we could check for any bad leaks in the box. There was water coming in, indeed, but for how much it rained, it was actually very minor.
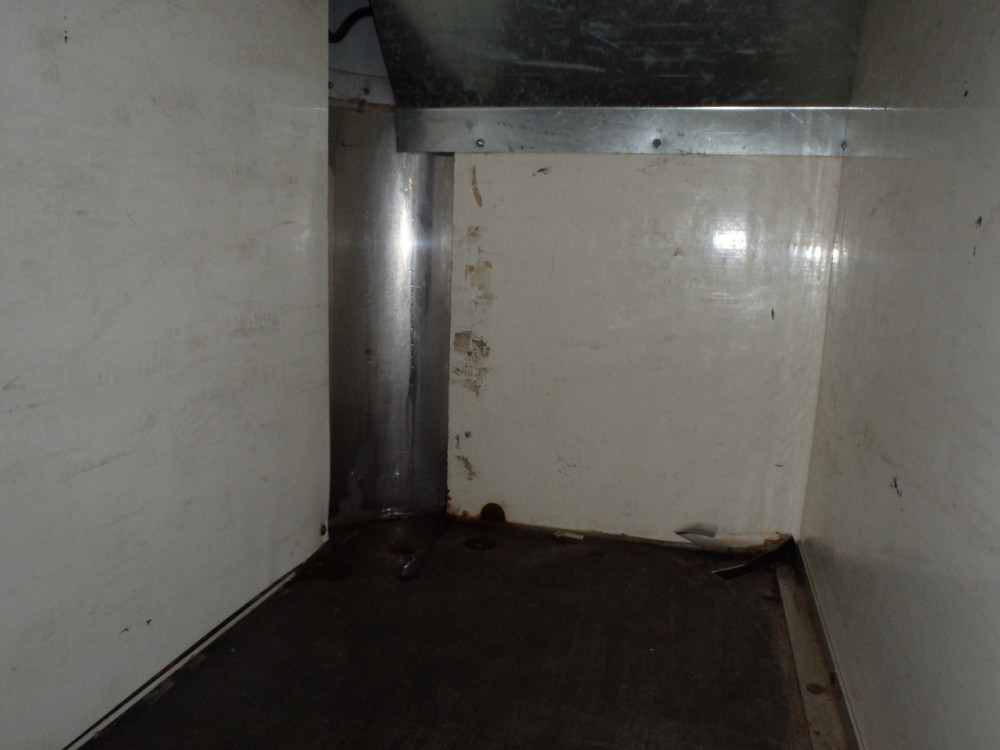
The next step was bringing it to a mechanic for a second opinion. I consider myself rather handy and I do fix most things on my car myself. Still, I don't know much about these bigger vehicles so it made sense for us to let somebody who actually knows what he's doing to take look. In parallel, we did our own research online to find out what maintenance we could expect or if there's known defects, which would show up at certain ages of this vehicle. The internet indicated that a well-maintained Savana will run very reliably. When we got back to the mechanic, he also couldn't find anything wrong aside from the typical rust.
It was now time to make a decision. After bargaining a bit with the dealer, we agreed on a price and got a new set of tires from him as well. Being climbers, we know how important a good rubber is on your shoes, so we opted to pay bit more and get Pirelli Scorpion All Terrain tires instead of a cheaper Chinese no-name brand. In dry conditions, the Chinese tires would certainly be fine, but we're also going down some muddy roads if we check out crags. Good tires will definitely make a difference here.
Closer Second Inspection
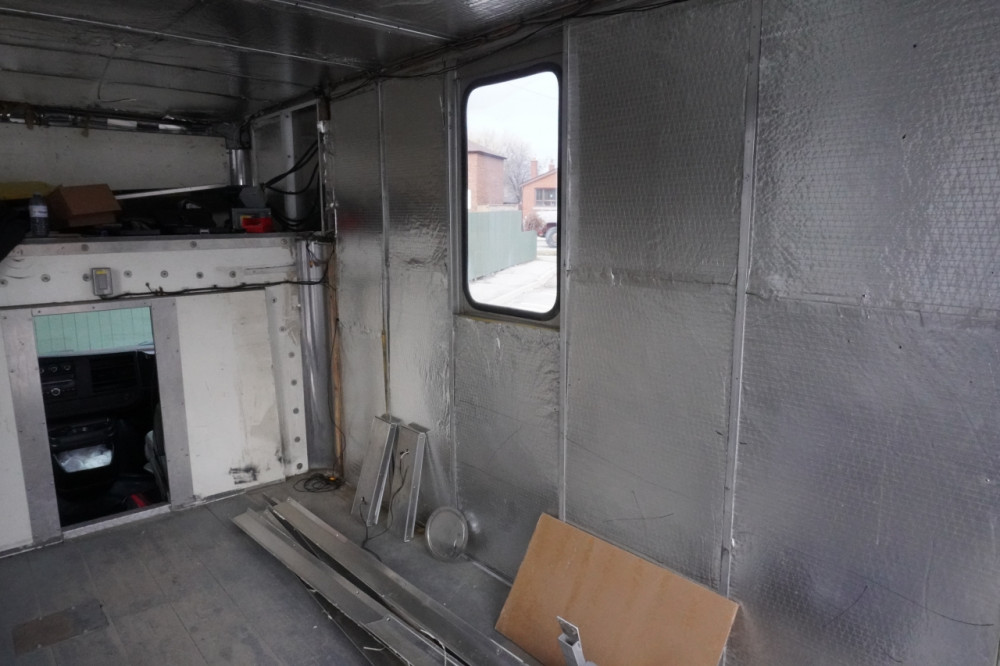
On the day of pickup, we luckily had some good weather and didn't need to slippery slide through a snowstorm back home. Here, we could finally take a close look at what we got ourselves into. First order was removing the workbenches and shelves, and then taking down all the walls to inspect the insulation. We wanted to make sure it's not just old telephone books in the walls.
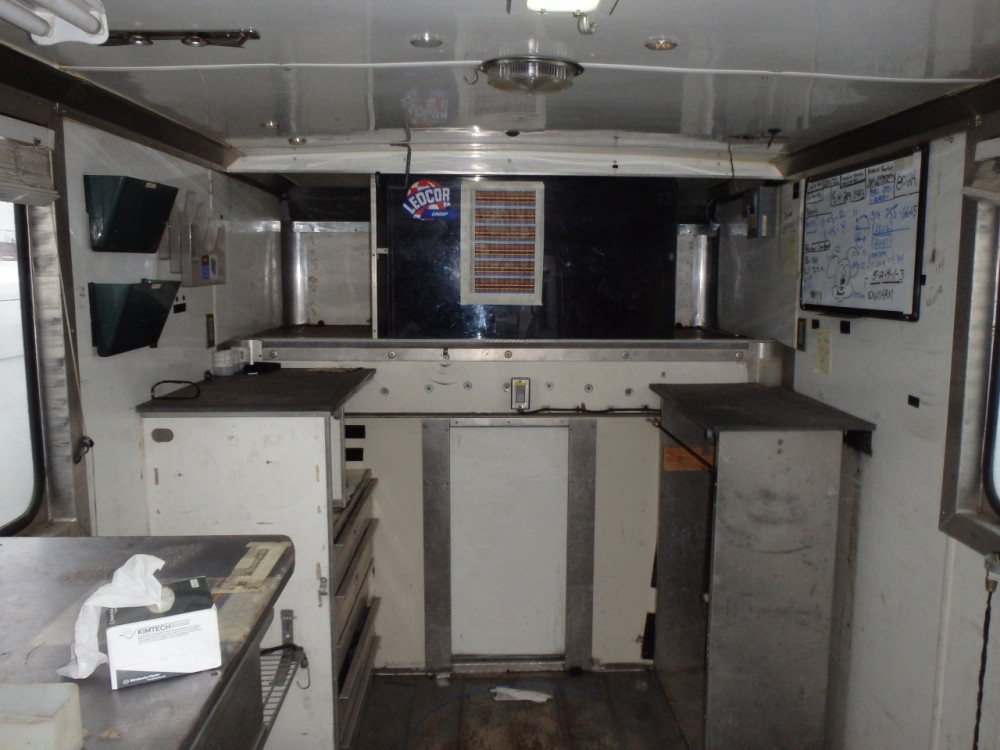
To our delight, behind the plywood, we found fiberglass mats with aluminium-foil coating which prevents moisture from getting underneath the mats. The cabling for the 110 V sockets was done professionally with the correct wires (stranded wire—you don't want to use solid wires in a vehicle as they will break from vibrations).
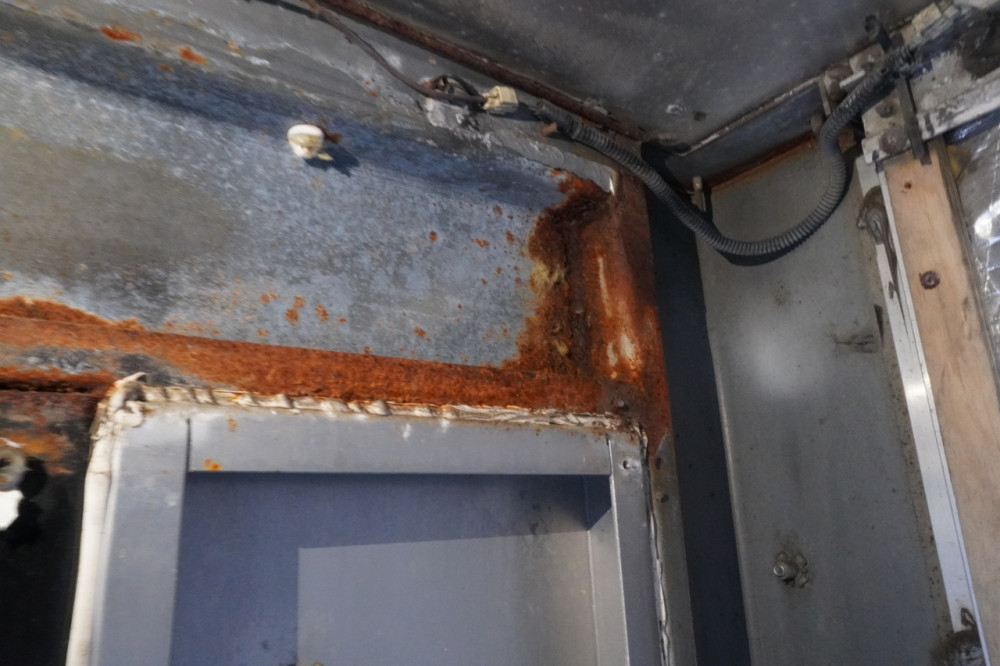
In the rear ceiling plywood, I did find some water and moldy patches. Here was another leak we didn't see before. The box is made of aluminium panels, with a solid steel frame in the back. Where the panels are connected to the frame, the caulk on top had shrunk over the years and water seeped in. Also, the wire that feeds the giant arrow in the back wasn't properly sealed anymore, so water also found its way into the box through the cable gland.

Side Quest
A fun side quest was bringing our torn-down materials to the dump. Every so often, you will hear me comparing how things are done in Canada with what I experienced when growing up in Germany. Consider this as a bonus cultural exchange in this blog.
Germans are very particular when it comes to separating garbage.
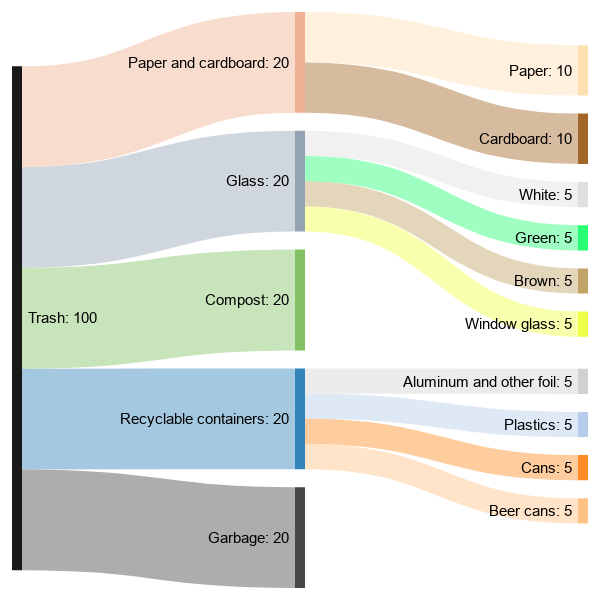
Nowadays, there are 4 different bins at each household:
- Recyclables (plastic wrappings, aluminium container lids, plastic trays)
- Paper and cardboard
- Compostible waste
- Garbage
Additionally, you're supposed to collect all your glass and canned food cans (beer cans are different—you refund them separately for a significant deposit of €0.25) and dispose it at public collection containers. Every community has their dumpyard, where the sorting gets even more particular:
- Paper and cardboard are separate containers (watch out, shredded paper cannot go into the paper collection!)
- Glass is to be divided by color (rather obvious) and type (you can't mix window glass with bottles)
- Wood is divied by yard waste and furniture
- Electronics are separated, but they wouldn't take any batteries—these have to go to a separate collection of hazardous materials
The upside is that for household amounts of waste, it's already paid for by your community taxes. I think by now, you've got the drill. Waste management is a serious matter in Germany.
But not so, in Canada. When we arrived at the dump (or as it's more properly called, the transfer station), the first action is to drive onto a scale and weigh the car. They charge you about what they think the waste weighs and you're let forward into the building where the waste collection happens. Here you'll find giant piles of household waste. Big garbage trucks unload, while front-loader excavators throw them into massive hoppers feeding their sorting machines. You'll be directed by an attendant to park next to the pile. Now whatever you've got in your trunk (as long as there are no hazardous materials) just gets chucked onto the pile and that's it. No separation, nobody bothering you. After unloading, you go back to the scale and weigh out. Here they'll refund you the remaining deposit or top-up the amount.
In case you're wondering why it's called a transfer station, it's because they're really just transferring the waste into even bigger trucks and driving it over to Michigan. Ontario has an issue with their landfills—most of them are already full and the certification of new landfills takes too long. It's an interesting topic to read on, but now let's get back to the truck.
Back to the Main Quest
We already knew from the inspection that there was a tiny leak in the front from the box caps, so the first plan of action was to seal all those leaks.
With the water also came some rust on the steel frame in the back. I really tried to not make an appearance of the Coronavirus in this blog post, but people got all crazy and we had a lot of trouble finding a face mask so I could grind down the rust. We ended up getting a professional respirator that makes you look very much like a fighter jet pilot, but at least I could get the rust away and add a new coat of paint to the frame. I'm actually very impressed by the mask. Breathing is so much better than on the simple masks. It also completely seals the face with no dust sneaking in at the corners around your nose (unless you have no nose like Chiko). If you need to do a really dirty job, I would definitely recommend them.
We thought the arrow added character, but really, we don't need it. Unfortunately, we never got it to light up on the truck due to a lack of power (I will go into more detail later). After taking it down, I hooked it up to a power supply and it did its blinky blink. We're now trying to find somebody who wants to buy it from us. It's still in perfect condition; it would be a shame to throw it out.
From the alternator in the engine-compartment goes a huge wire (looks like at least 50 mm2 or AWG 0) through a cut-off relay into the back of the box. It was hooked up to two AGM lead batteries, which tragically, were already dead (showing 7 V, maybe we could've revived them, but likely they wouldn't have much of their original capacity anymore). A cut-off relay ensures that the starter battery of your car doesn't get drained by the appliances in the rear box when the engine is turned off. For the moment, it seems that it's not working properly, as there's no voltage to be measured on any wire hooked up behind it when the ignition is turned on. I still have to do some more measuring to find out if the relay is defective or if the ignition wire isn't properly connecting. We maybe have to replace it with a new relay. That's however the reason we couldn't get the arrow to work and likely why those batteries in the back were dead. It needs further investigation.
All in all, the second inspection didn't reveal any bad surprises and we're so far very happy with what we scored here.
Stay with us as we're getting closer to releasing the first video on our channel, showing all the details getting to this point.
Brett Sauve